



Our fireplace is finished! We have many projects in various states of partial completion, but not this one! This was one of the more tedious tasks, and I kept adding to it as I went. What started out as an ugly, mismatched fireplace has turned into a cozy and clean focal point for the living room. The original eyesore was composed of many different materials – brick, another type of brick, slate, wood, gold/brass, glass – and it was dirty (like everything in this house!)
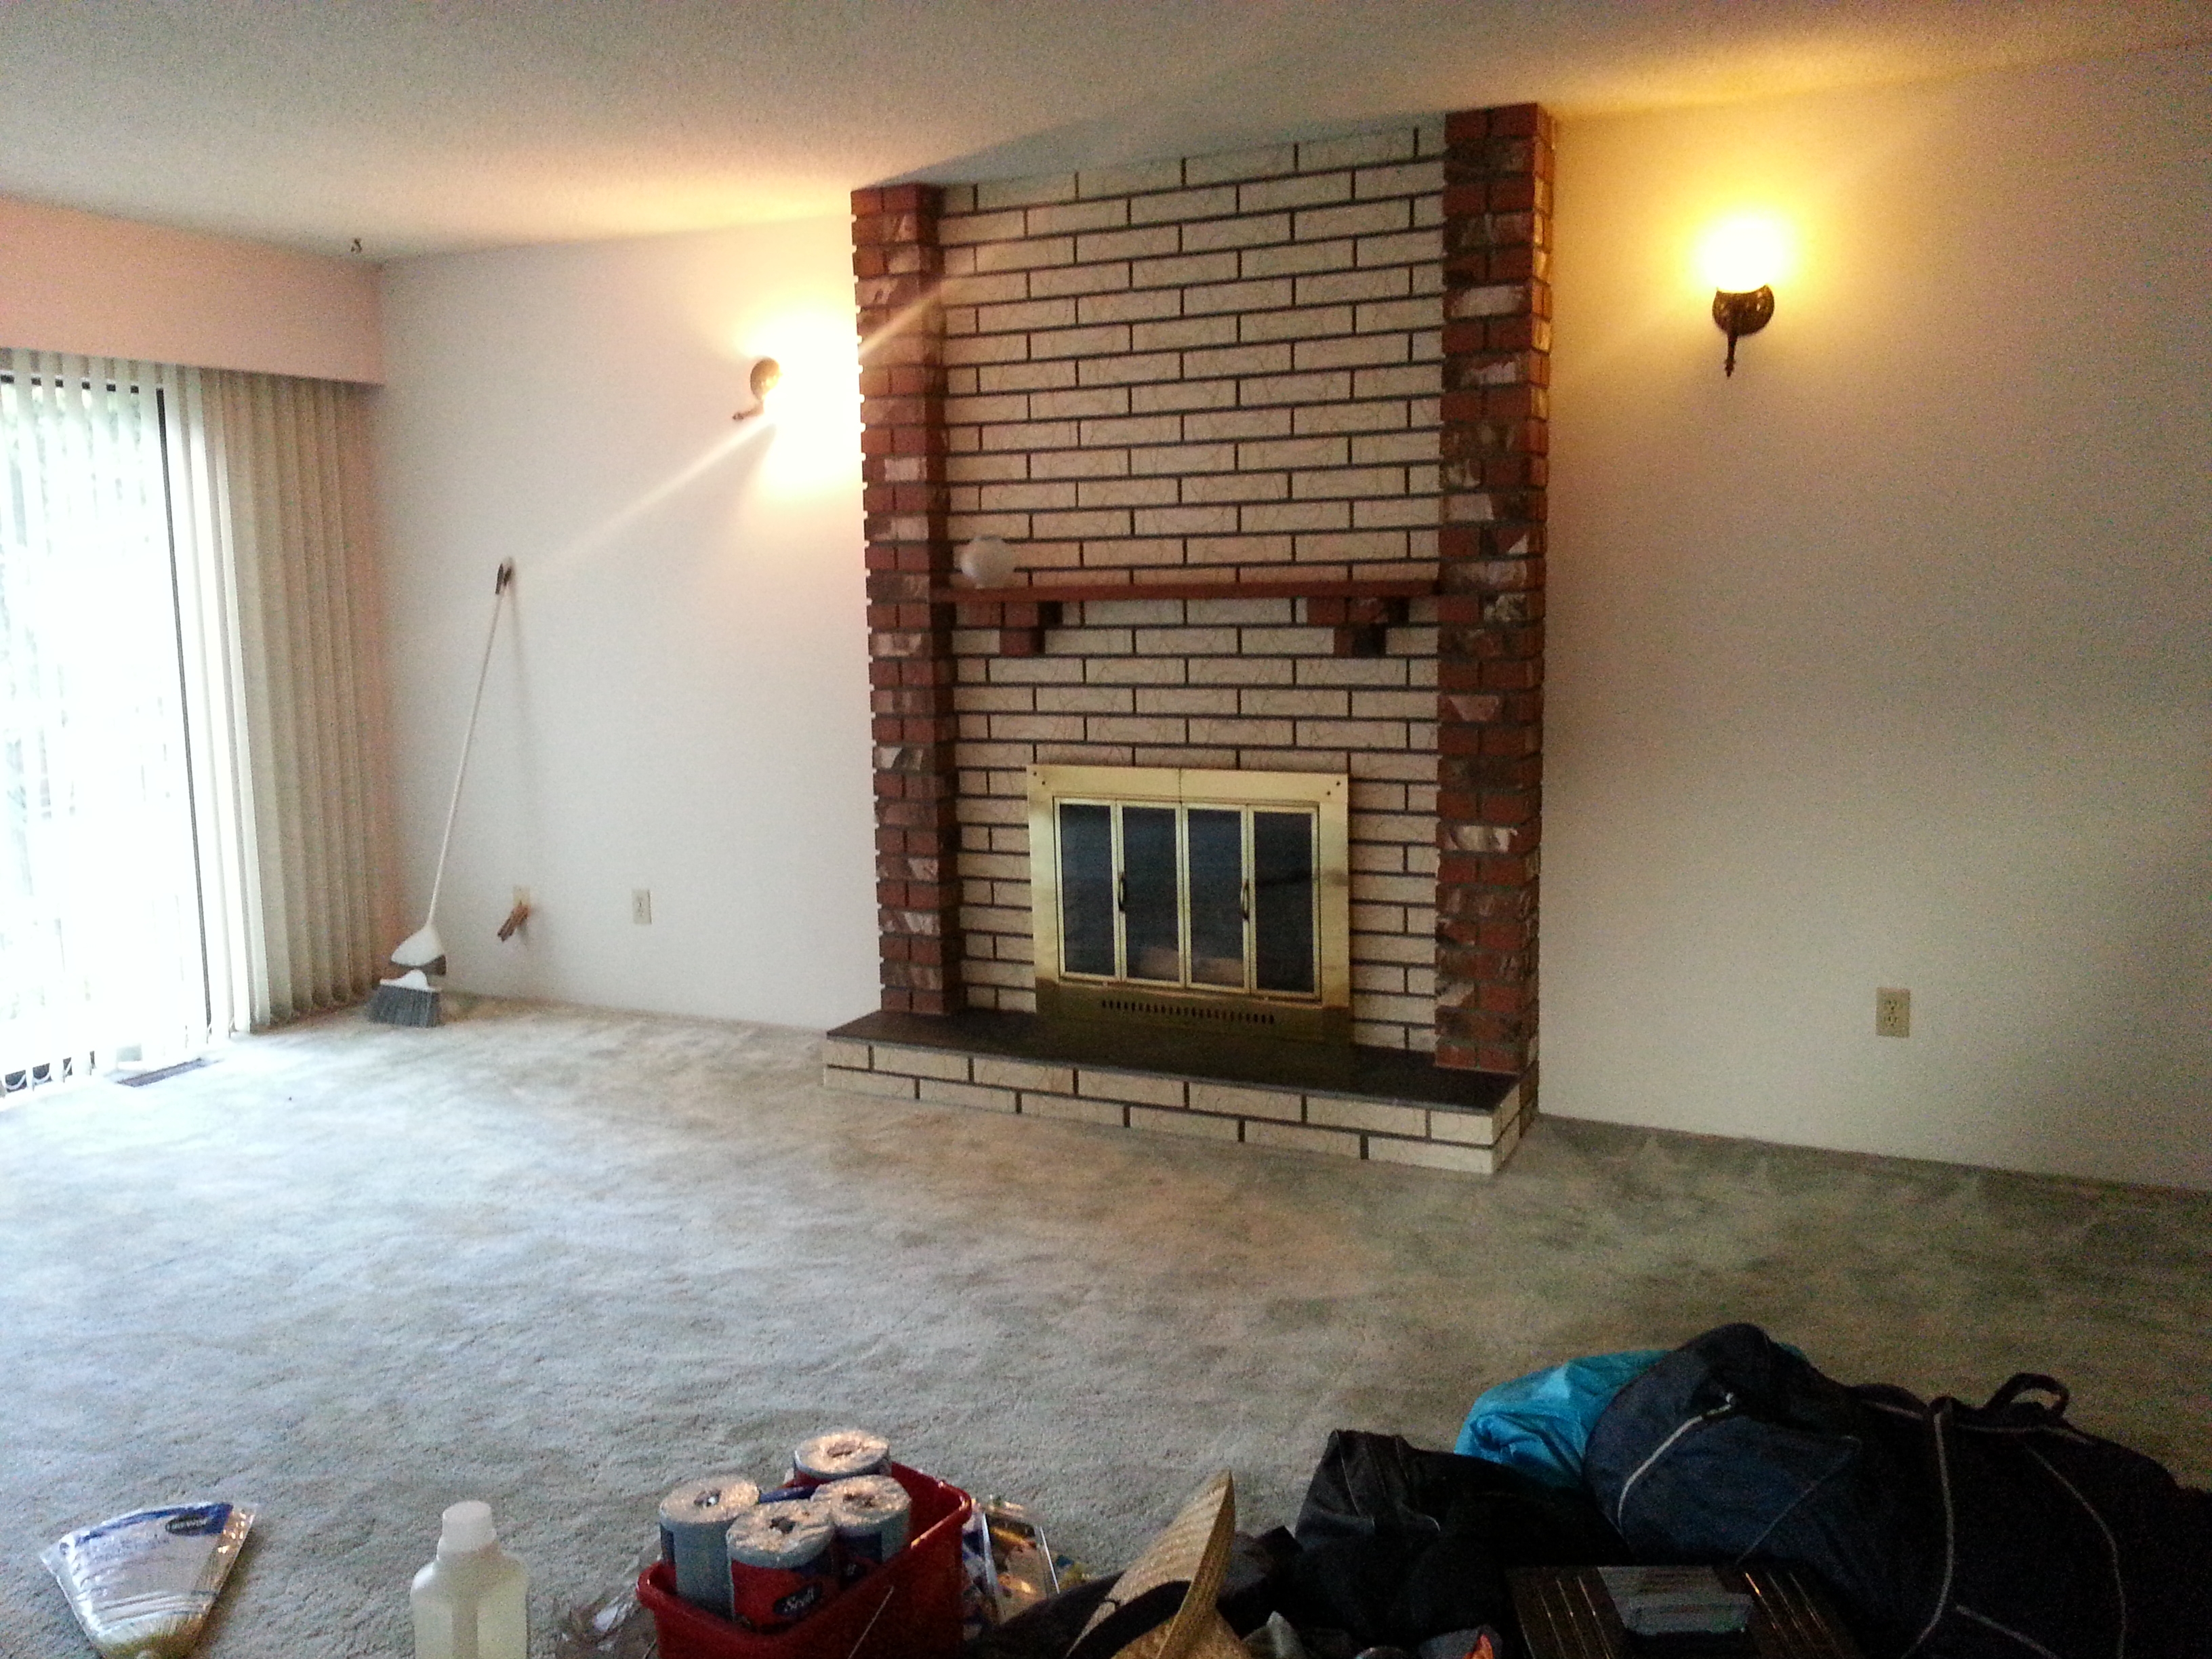
BEFORE: Paint-splashed red brick, plus textured cream brick, plus water-stained black slate plus stained wood mantle, plus (broken) gold/brass doors, plus broken light (the one of the left). Charming…not!
We started by painting the brick and wooden mantle the same grey (spoiler!) that we’re painting the trim throughout the house. Painting brick is not easy, especially if you don’t want to paint the grout. I taped off the white brick on the inside of the two pillars of red brick. It was tricky because every other white brick extends to touch the red brick and the others have a layer of grout between them. I basically had to tape the line twice. Taping off the wall and floor was easier. Then, I applied a coat of primer and two coats of grey.
Applying the paint and primer was a lot of work. You never realize how bumpy brick is until you try to paint it. For both the primer and paint, I started with a roller and then went back over with a foam brush to get in all the nooks and crannies. Finally, I used a thin brush to paint the top, bottom and sides of each and every brick! Not fun, but it paid off! Look at it now!
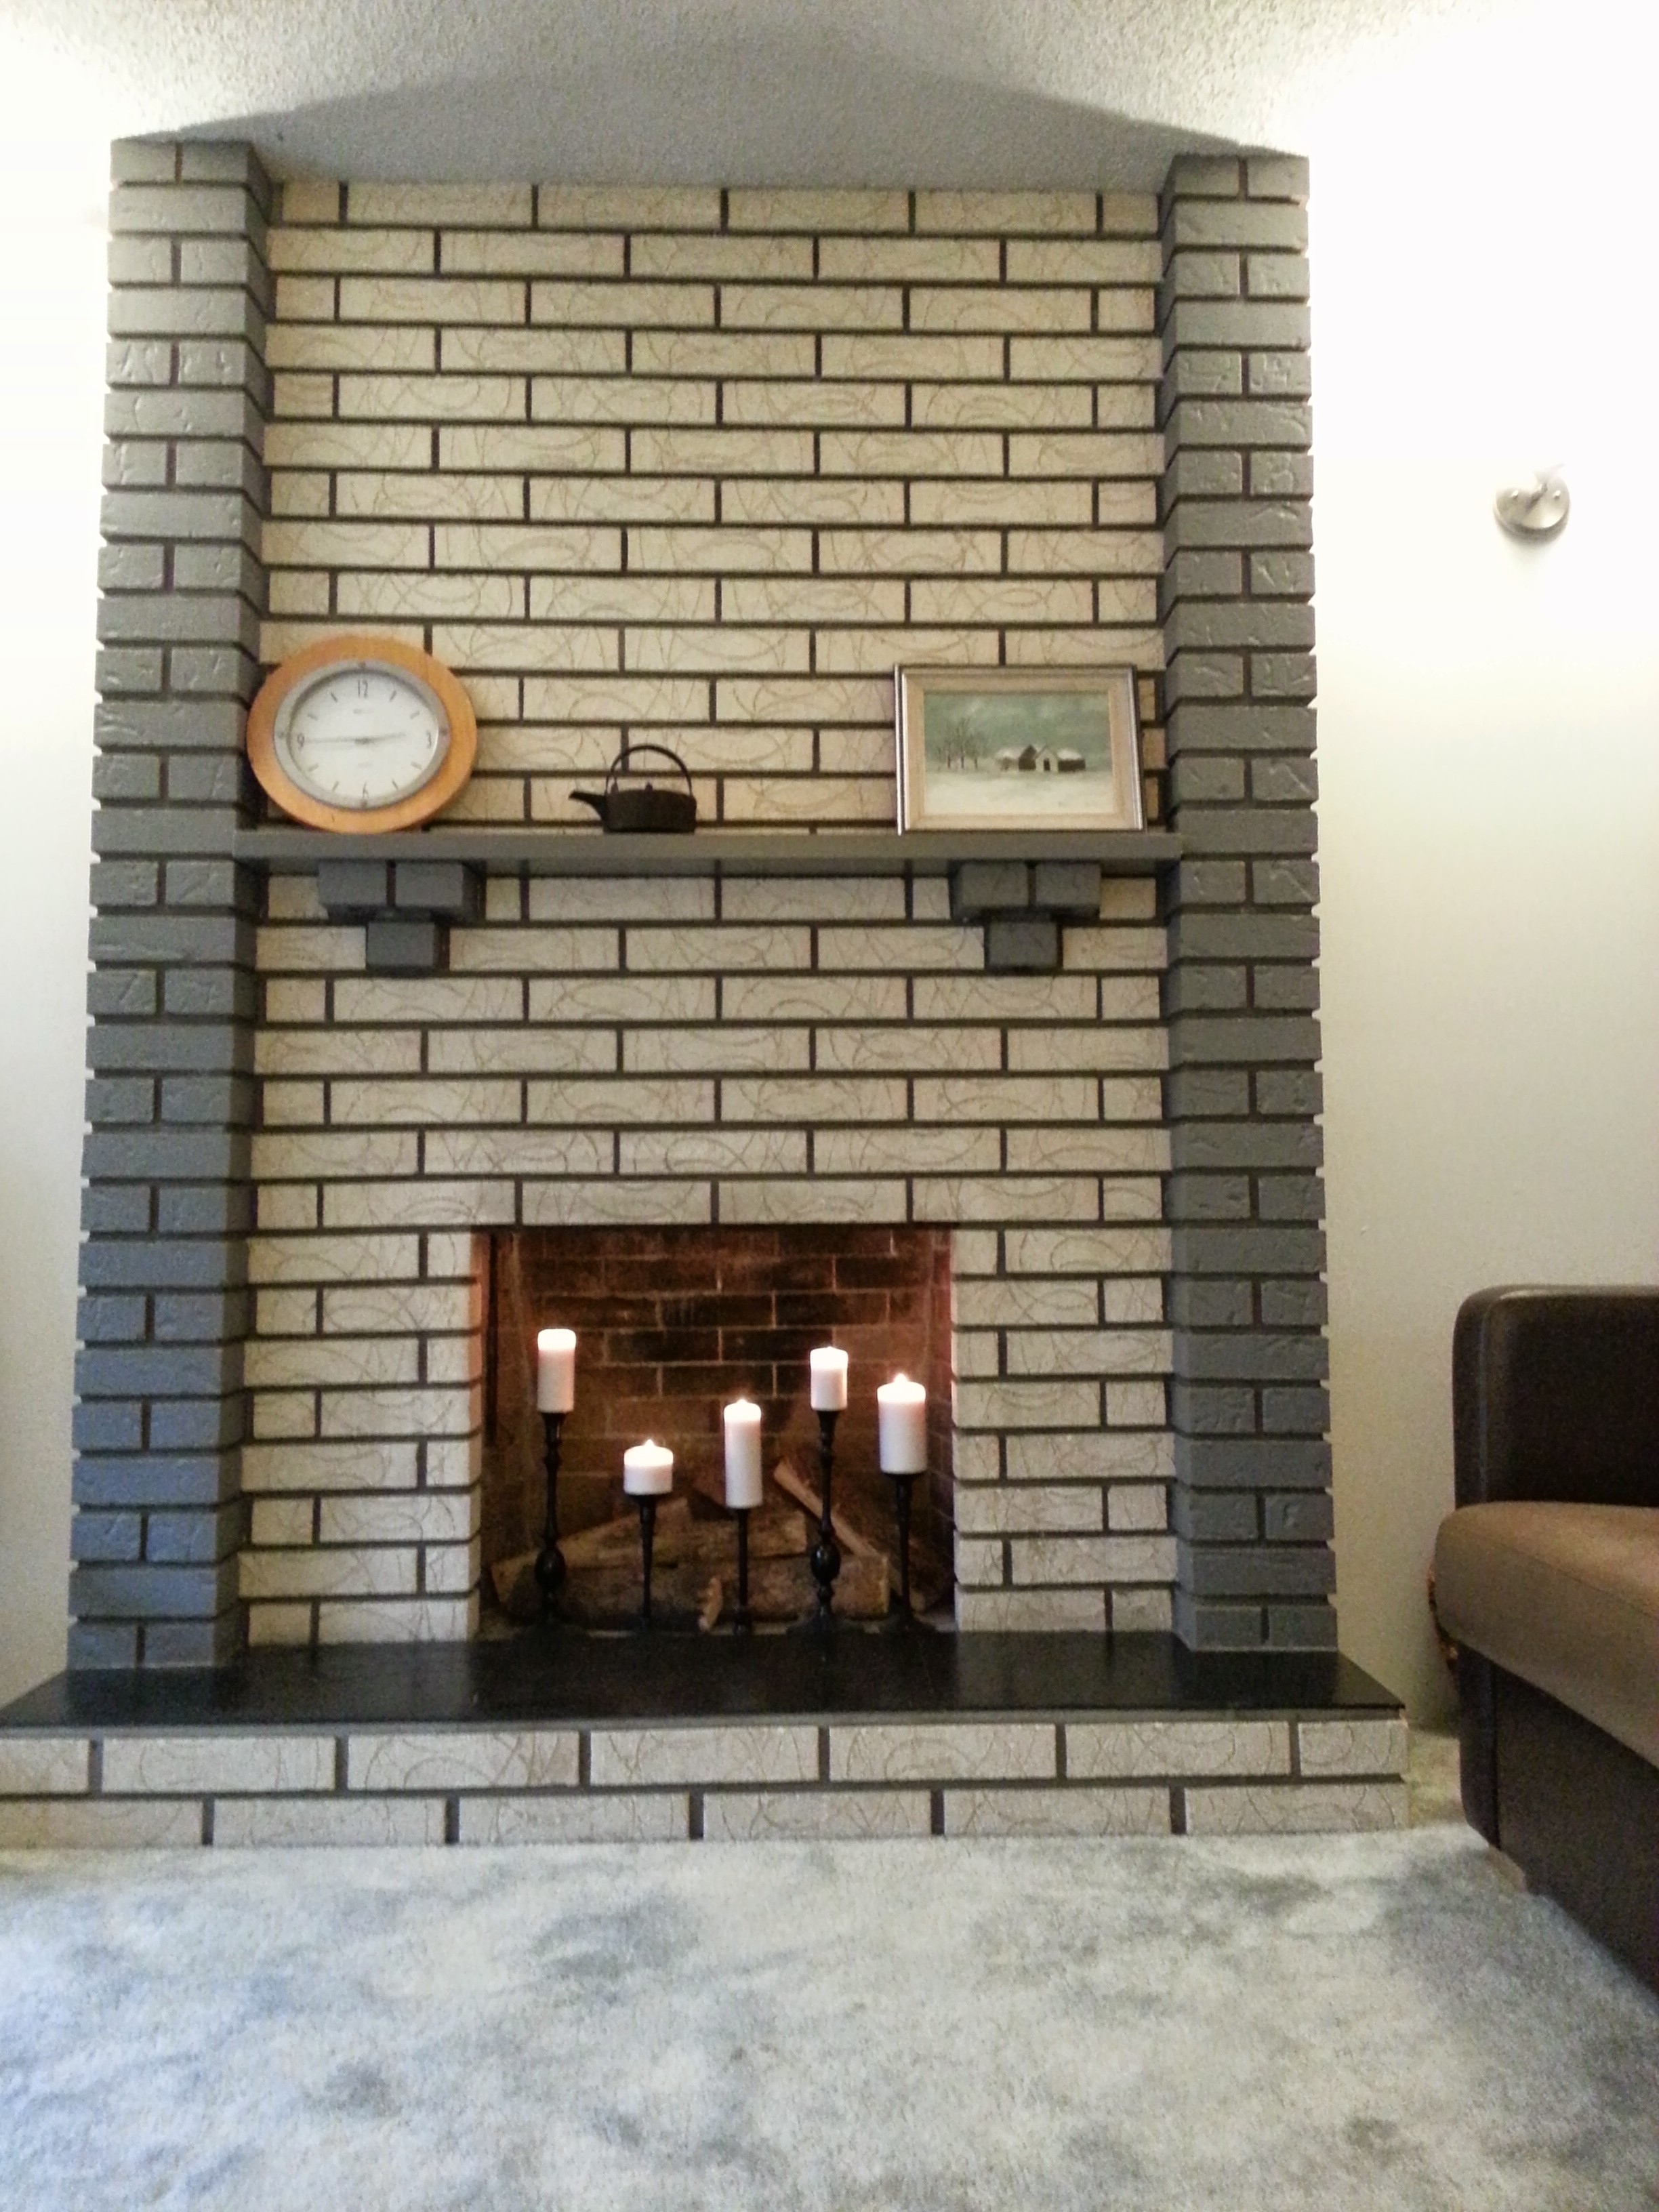
AFTER: Painted grey brick, painted grey wood mantle, gold/brass (broken) doors removed, cleaned and finished slate, lights replaced, candles glowing!
As for the fireplace itself, I was just going to clean the slate and white brick, and clean and fix the gold/brass doors and glass. However, it turned into more than that. Arlo was helping me scrub the brick with a bristly brush. Then, while I was trying to fix the kludged doors, Arlo pulled on one of the door handles, and the whole thing came off. He was apologizing and looking like he was going to be in trouble, and for a moment I was ready to scold him, but then I realized it was actually a big improvement. Inside the fireplace – which, like many in Vancouver, is not functional due to age and disrepair – we found a bundle of firewood, some broken glass, empty soda cans, beer bottle caps, and some other assorted garbage, plus a few used paper towels! I tossed everything except the firewood and decided that if I couldn’t burn it, I could at least put some candles in there to burn, so I got some from IKEA.
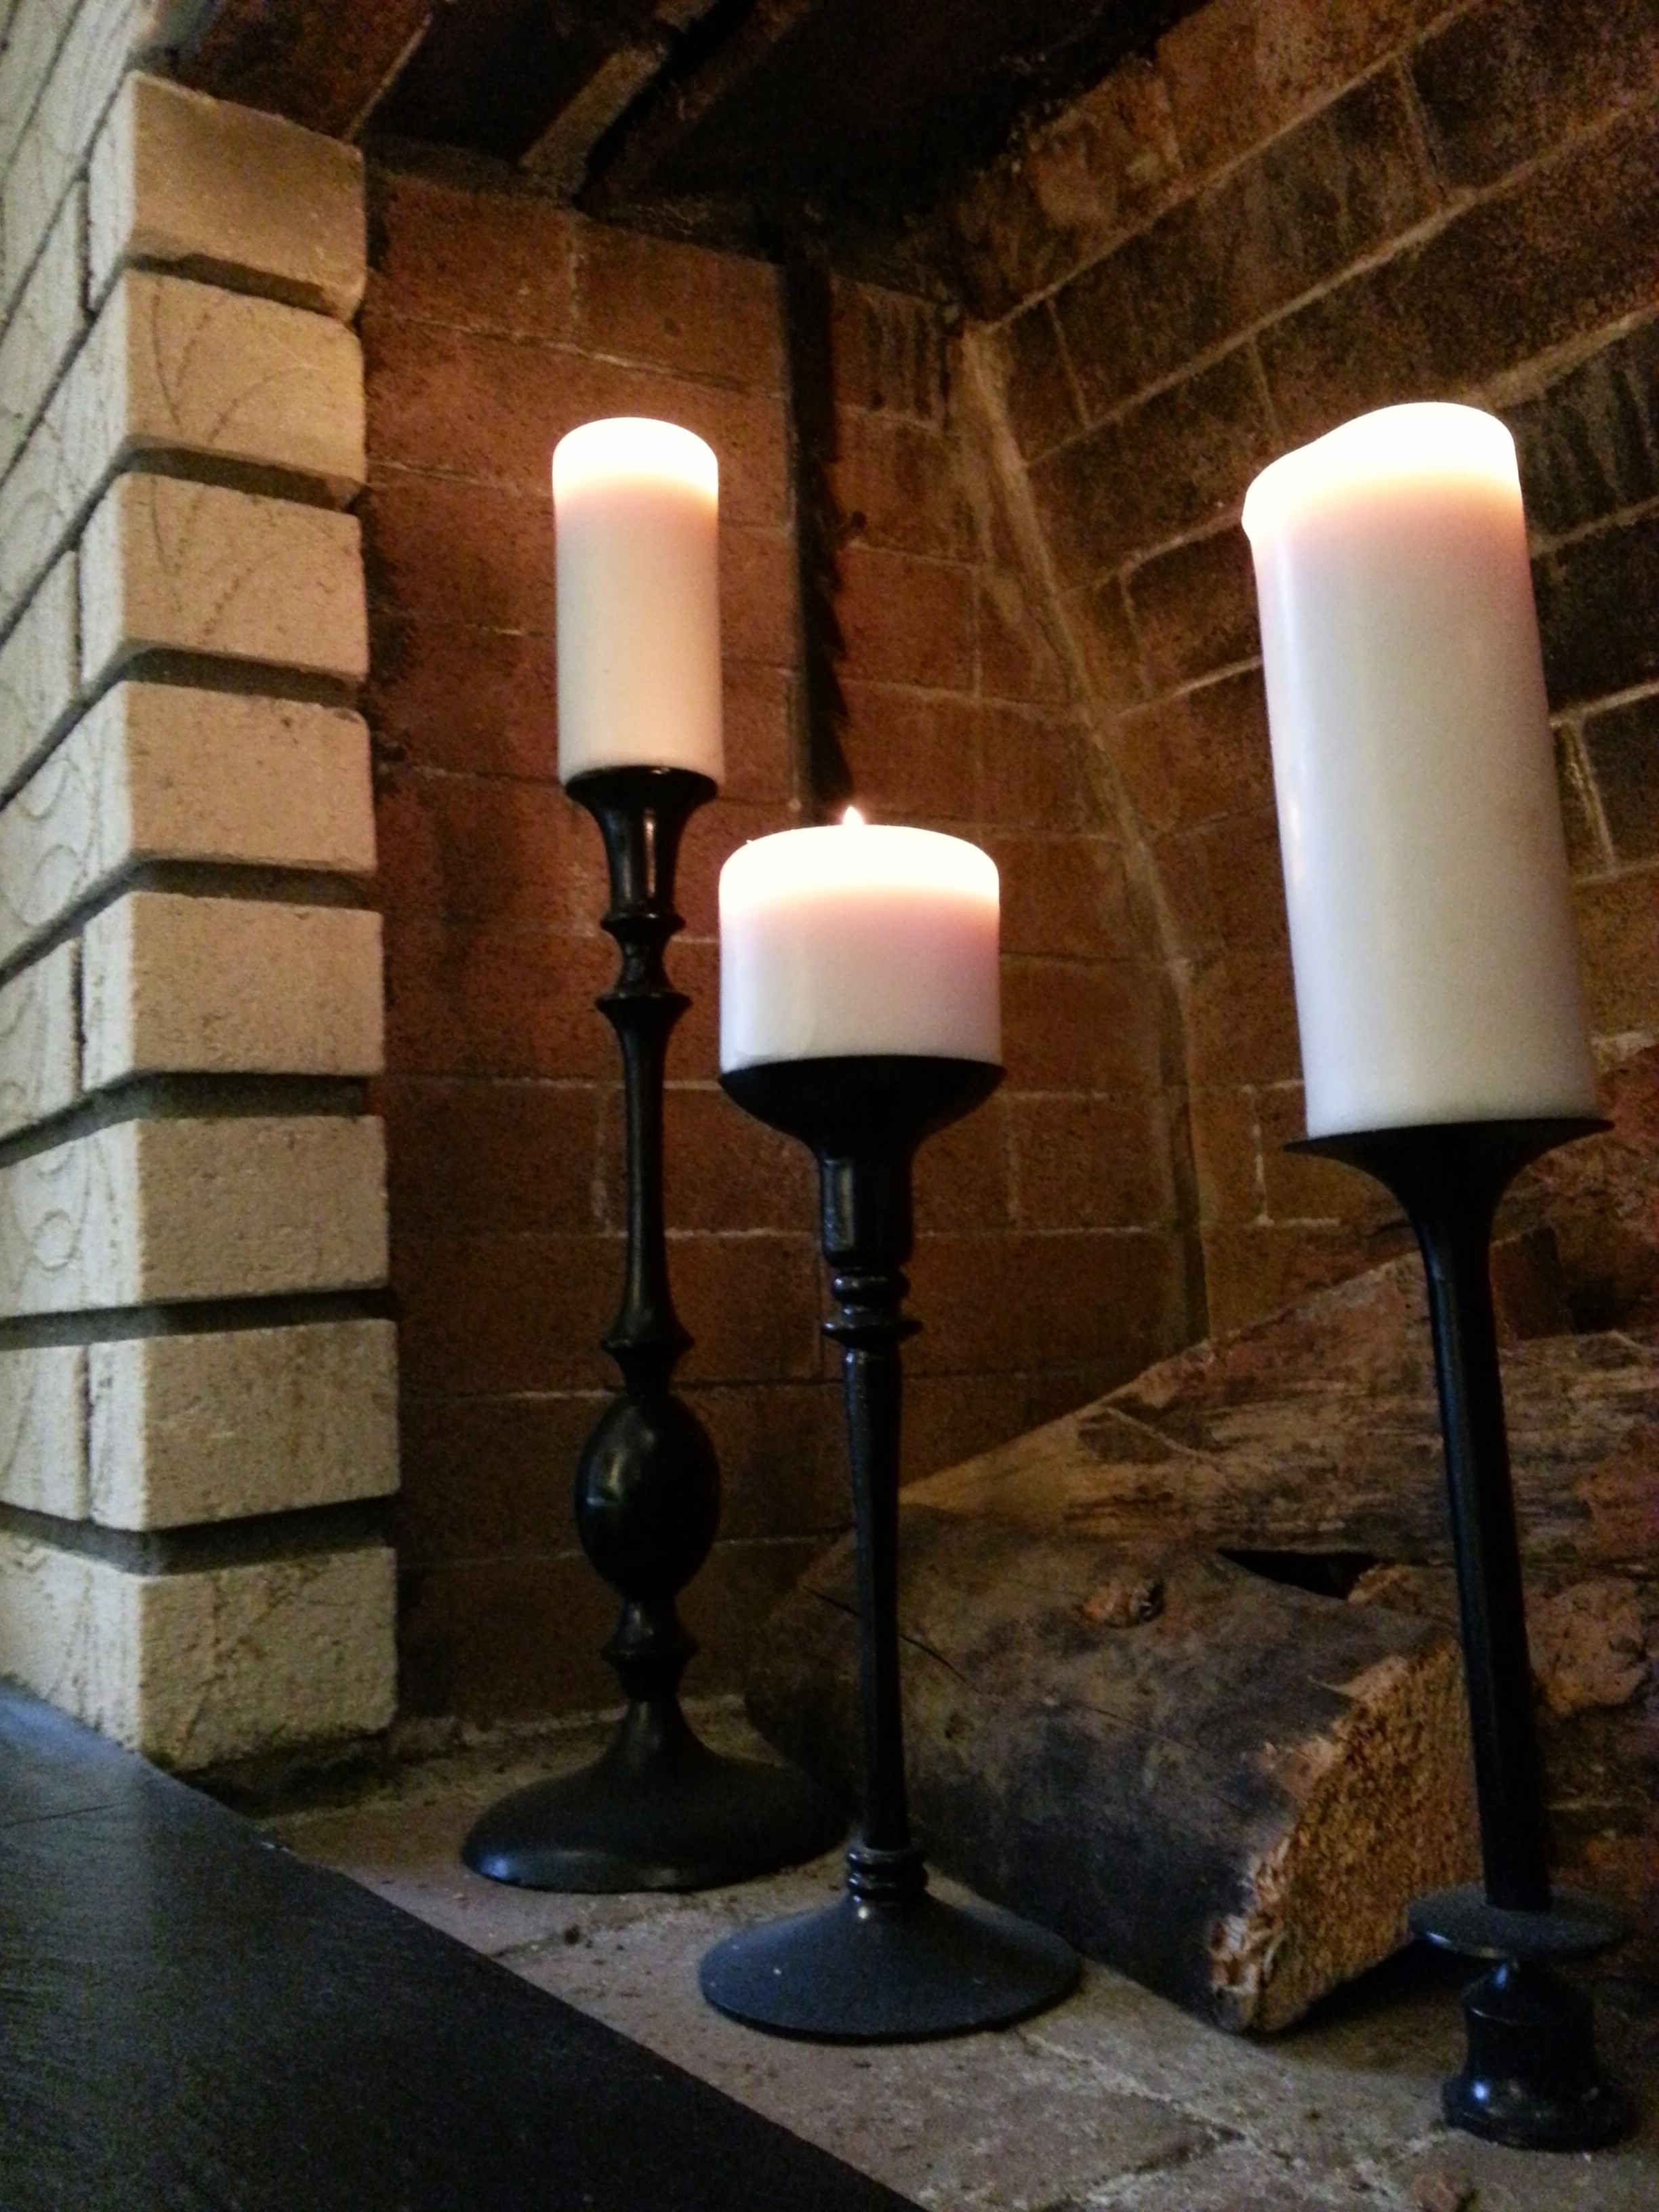
A warm glow on a rainy afternoon.
Before I got the candlesticks, I just had the firewood and candles in there and it didn’t look right. I decided I needed something for height and started looking around. I found some candlesticks at Value Village. I wasn’t worried about them matching because I was planning on painting them anyway. I washed the candlesticks and got all the wax off of them, then painted them with the same paint I used on the scrap bucket – a glossy black spray. If you’re observant, you’ll notice that one candlestick is actually made for taper candles, but I’m using it turned upside down (tricky, tricky). I tried taking the wood out and just having the candles and candlesticks in the fireplace, but that looked too empty, plus there is a big whole in the floor of the fireplace that I’d have to cover and I just don’t feel like doing that.
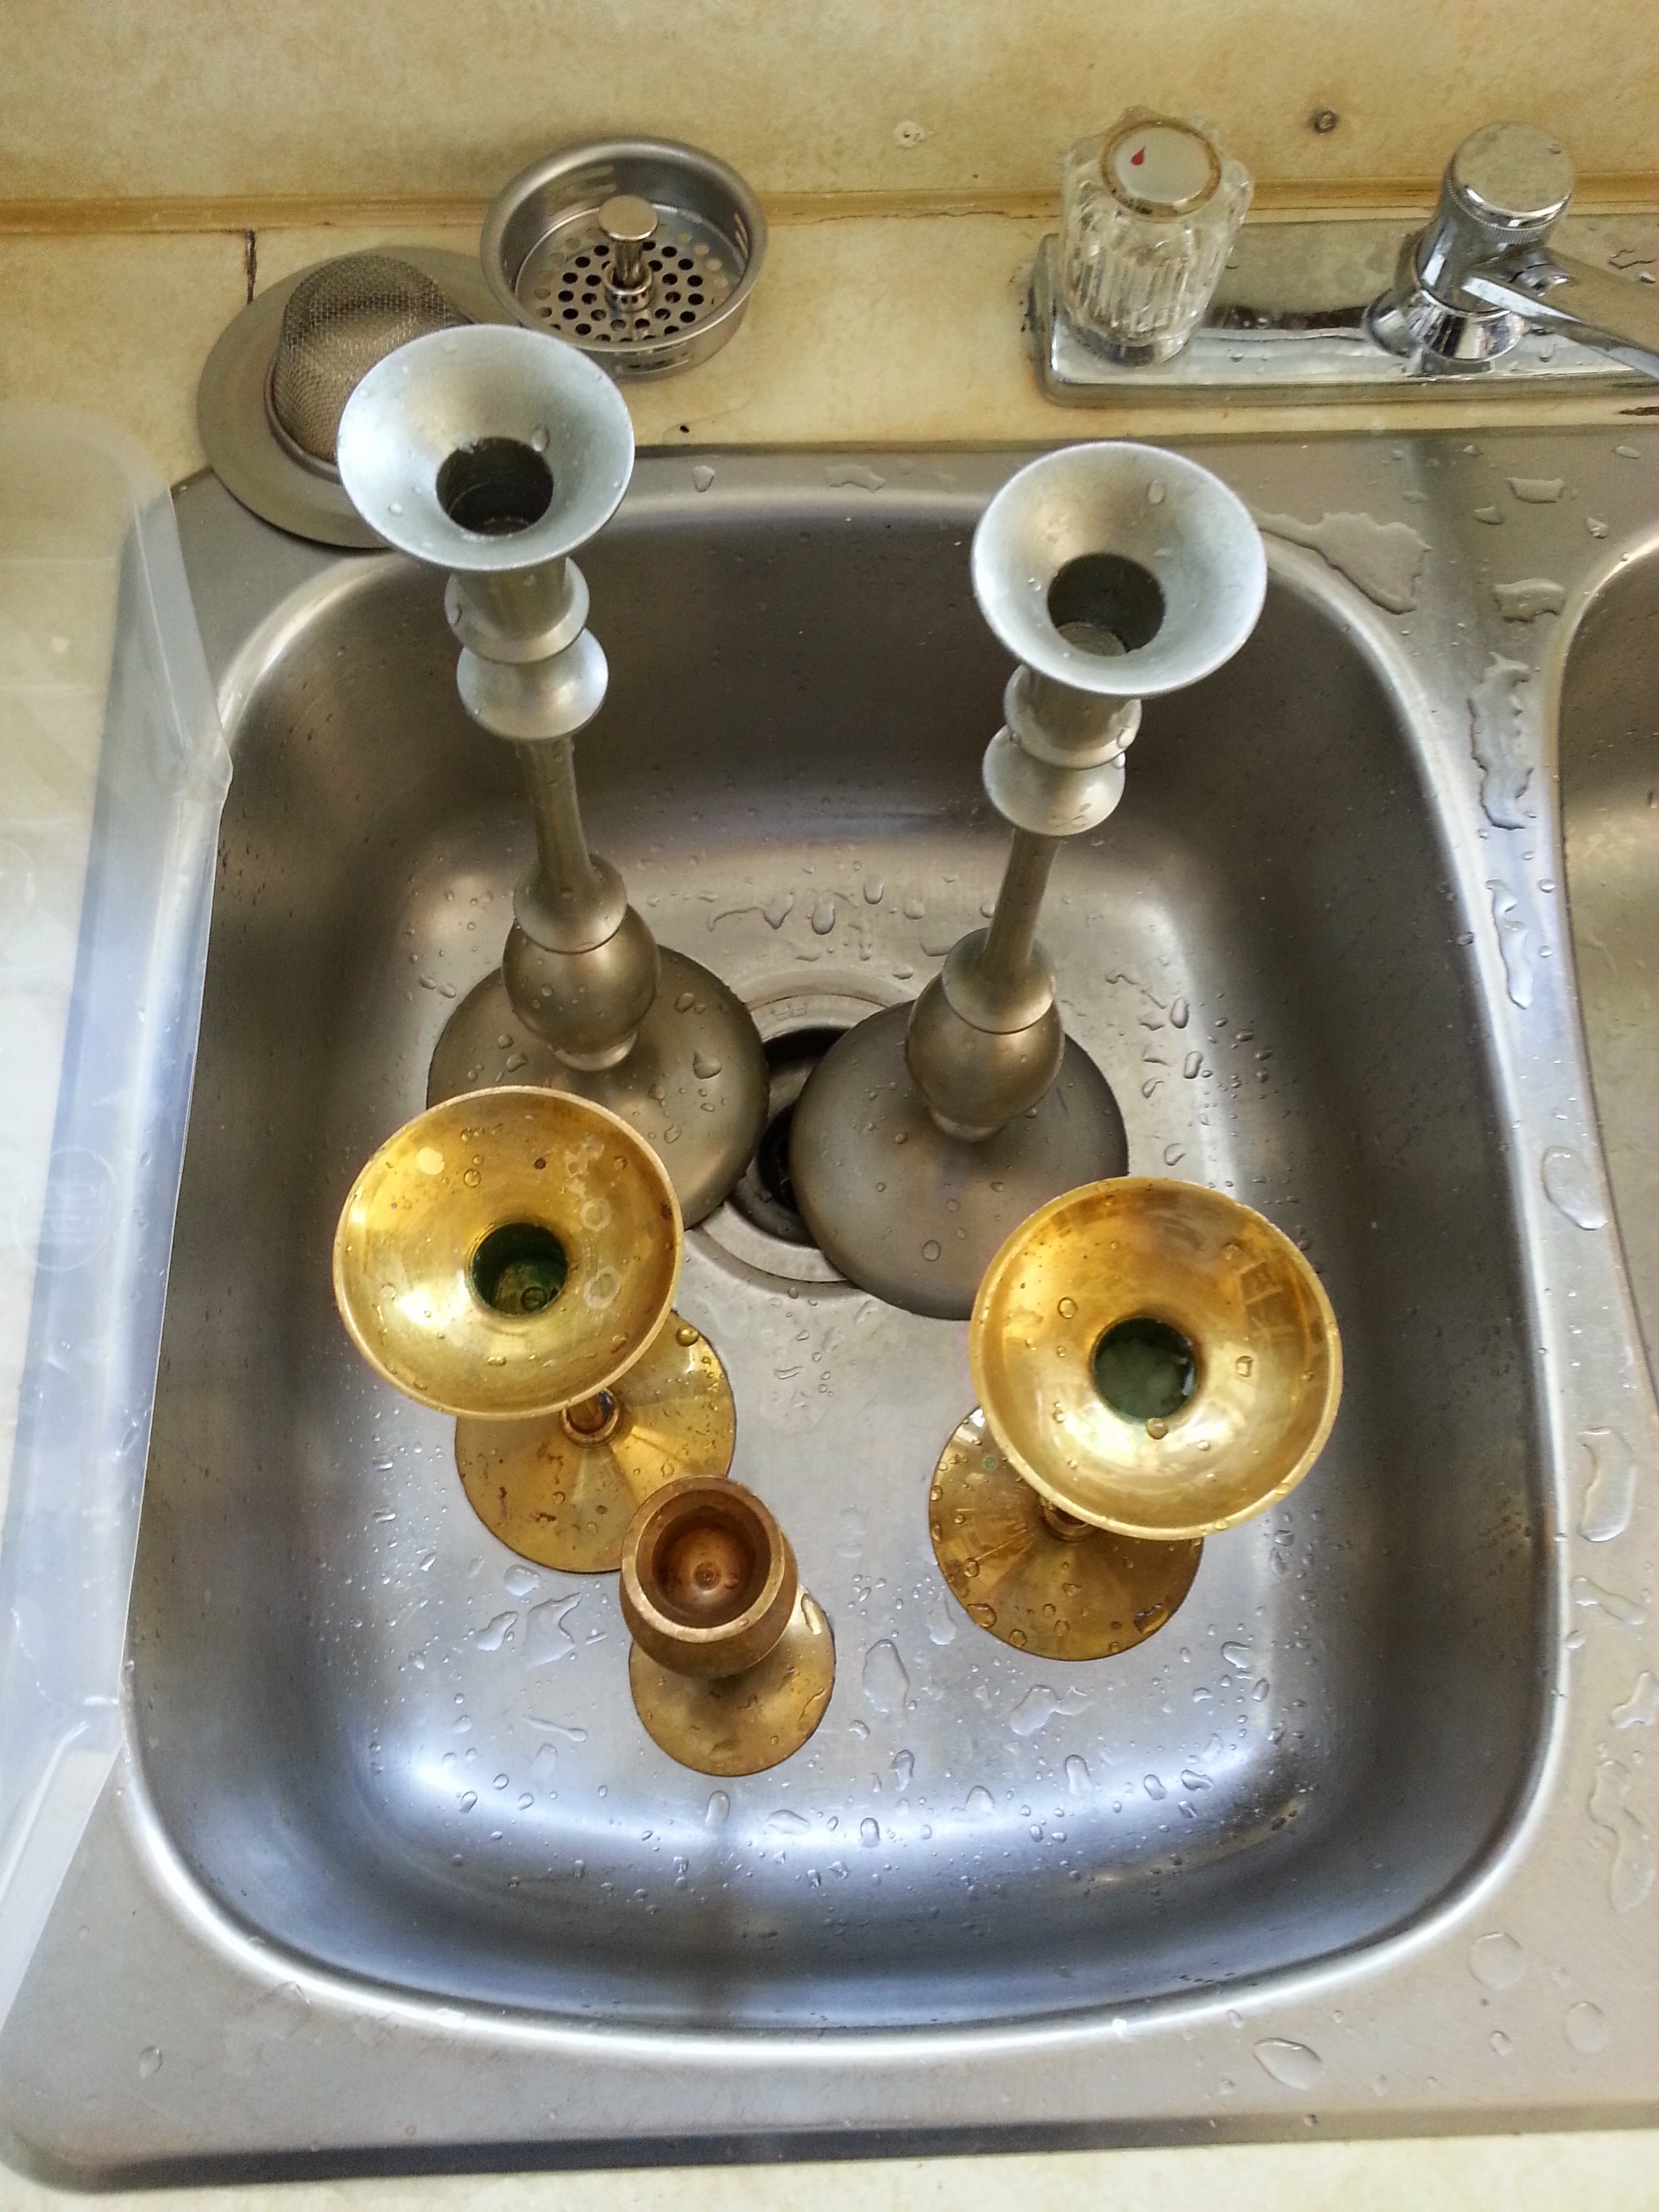
Thrifted candlesticks. Two sets of matching candlesticks and one odd man out getting a good scrub in the sink.
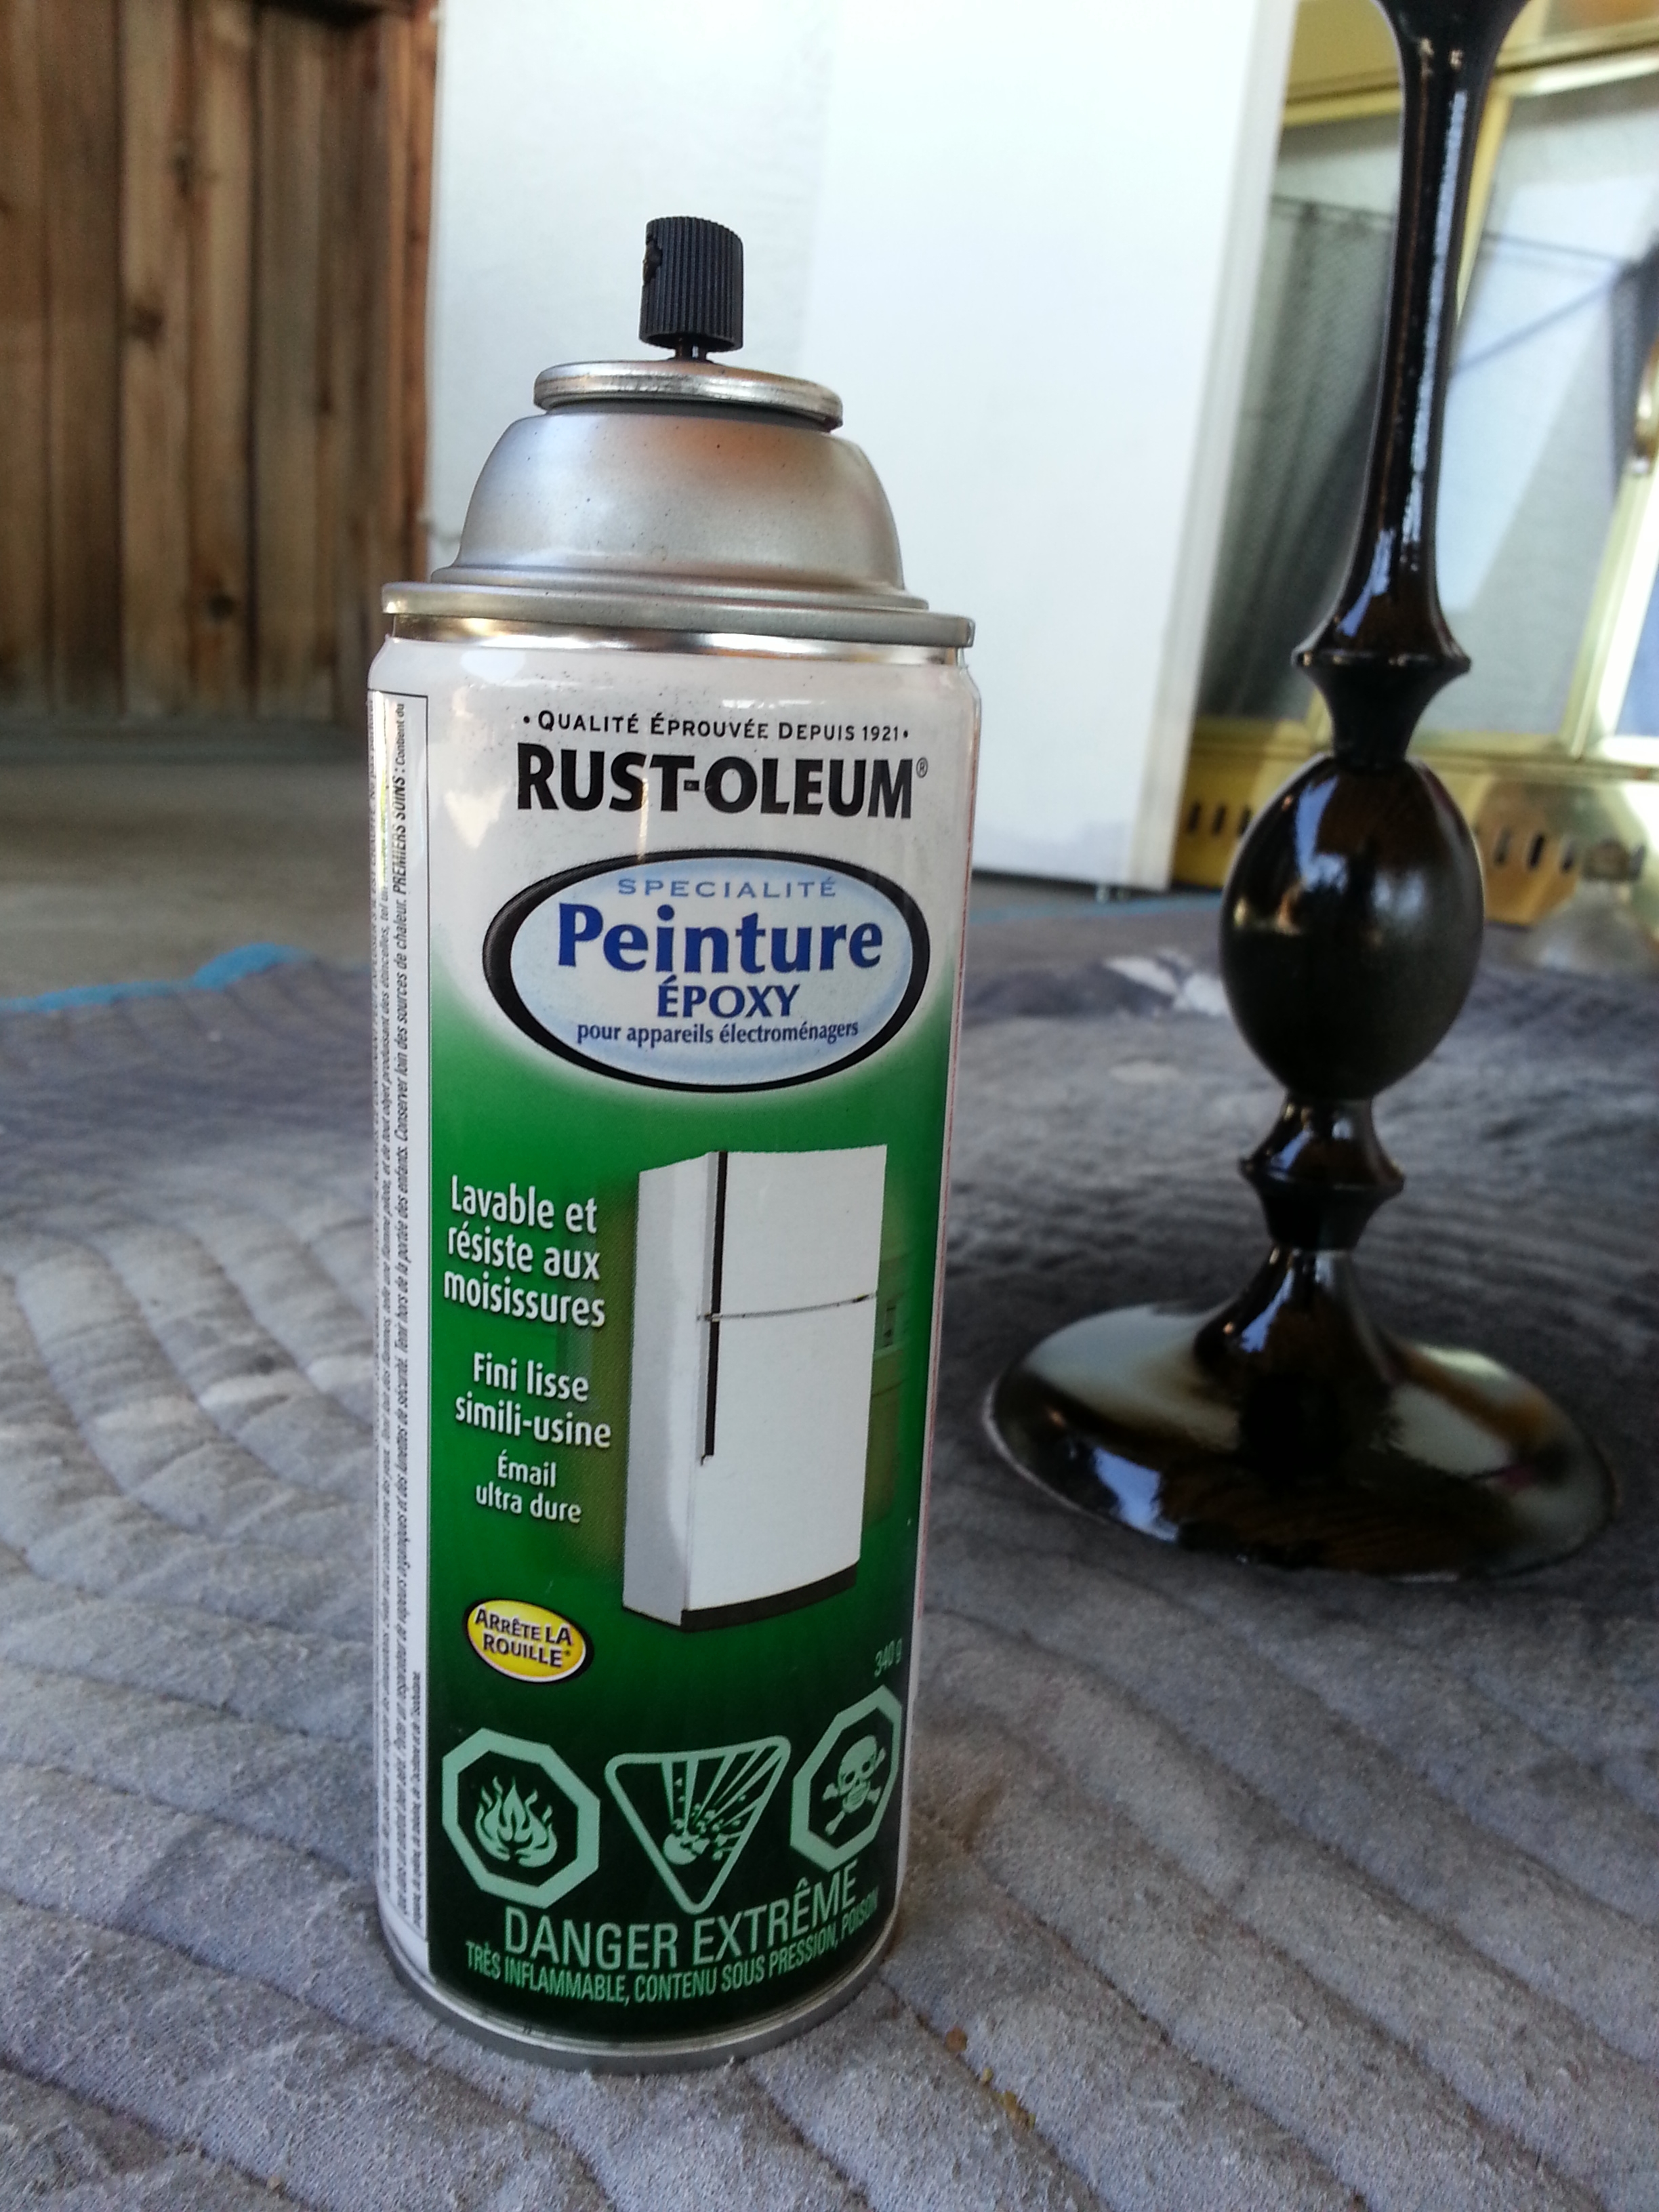
Fancy French spray paint. Appliance enamel in black. Same as that used on the scrap bucket.
Garnet’s part of the project was to switch out the light fixtures for new ones (from RONA: the cheapest we could find and both agree on). They are actually sconces meant to shine down but installed upside down to throw more light across the room and create up light rather than spotlight. We really like the look as compared to sconces that seem more like outdoor or streetlights, plus we like that they were cheap and not broken.
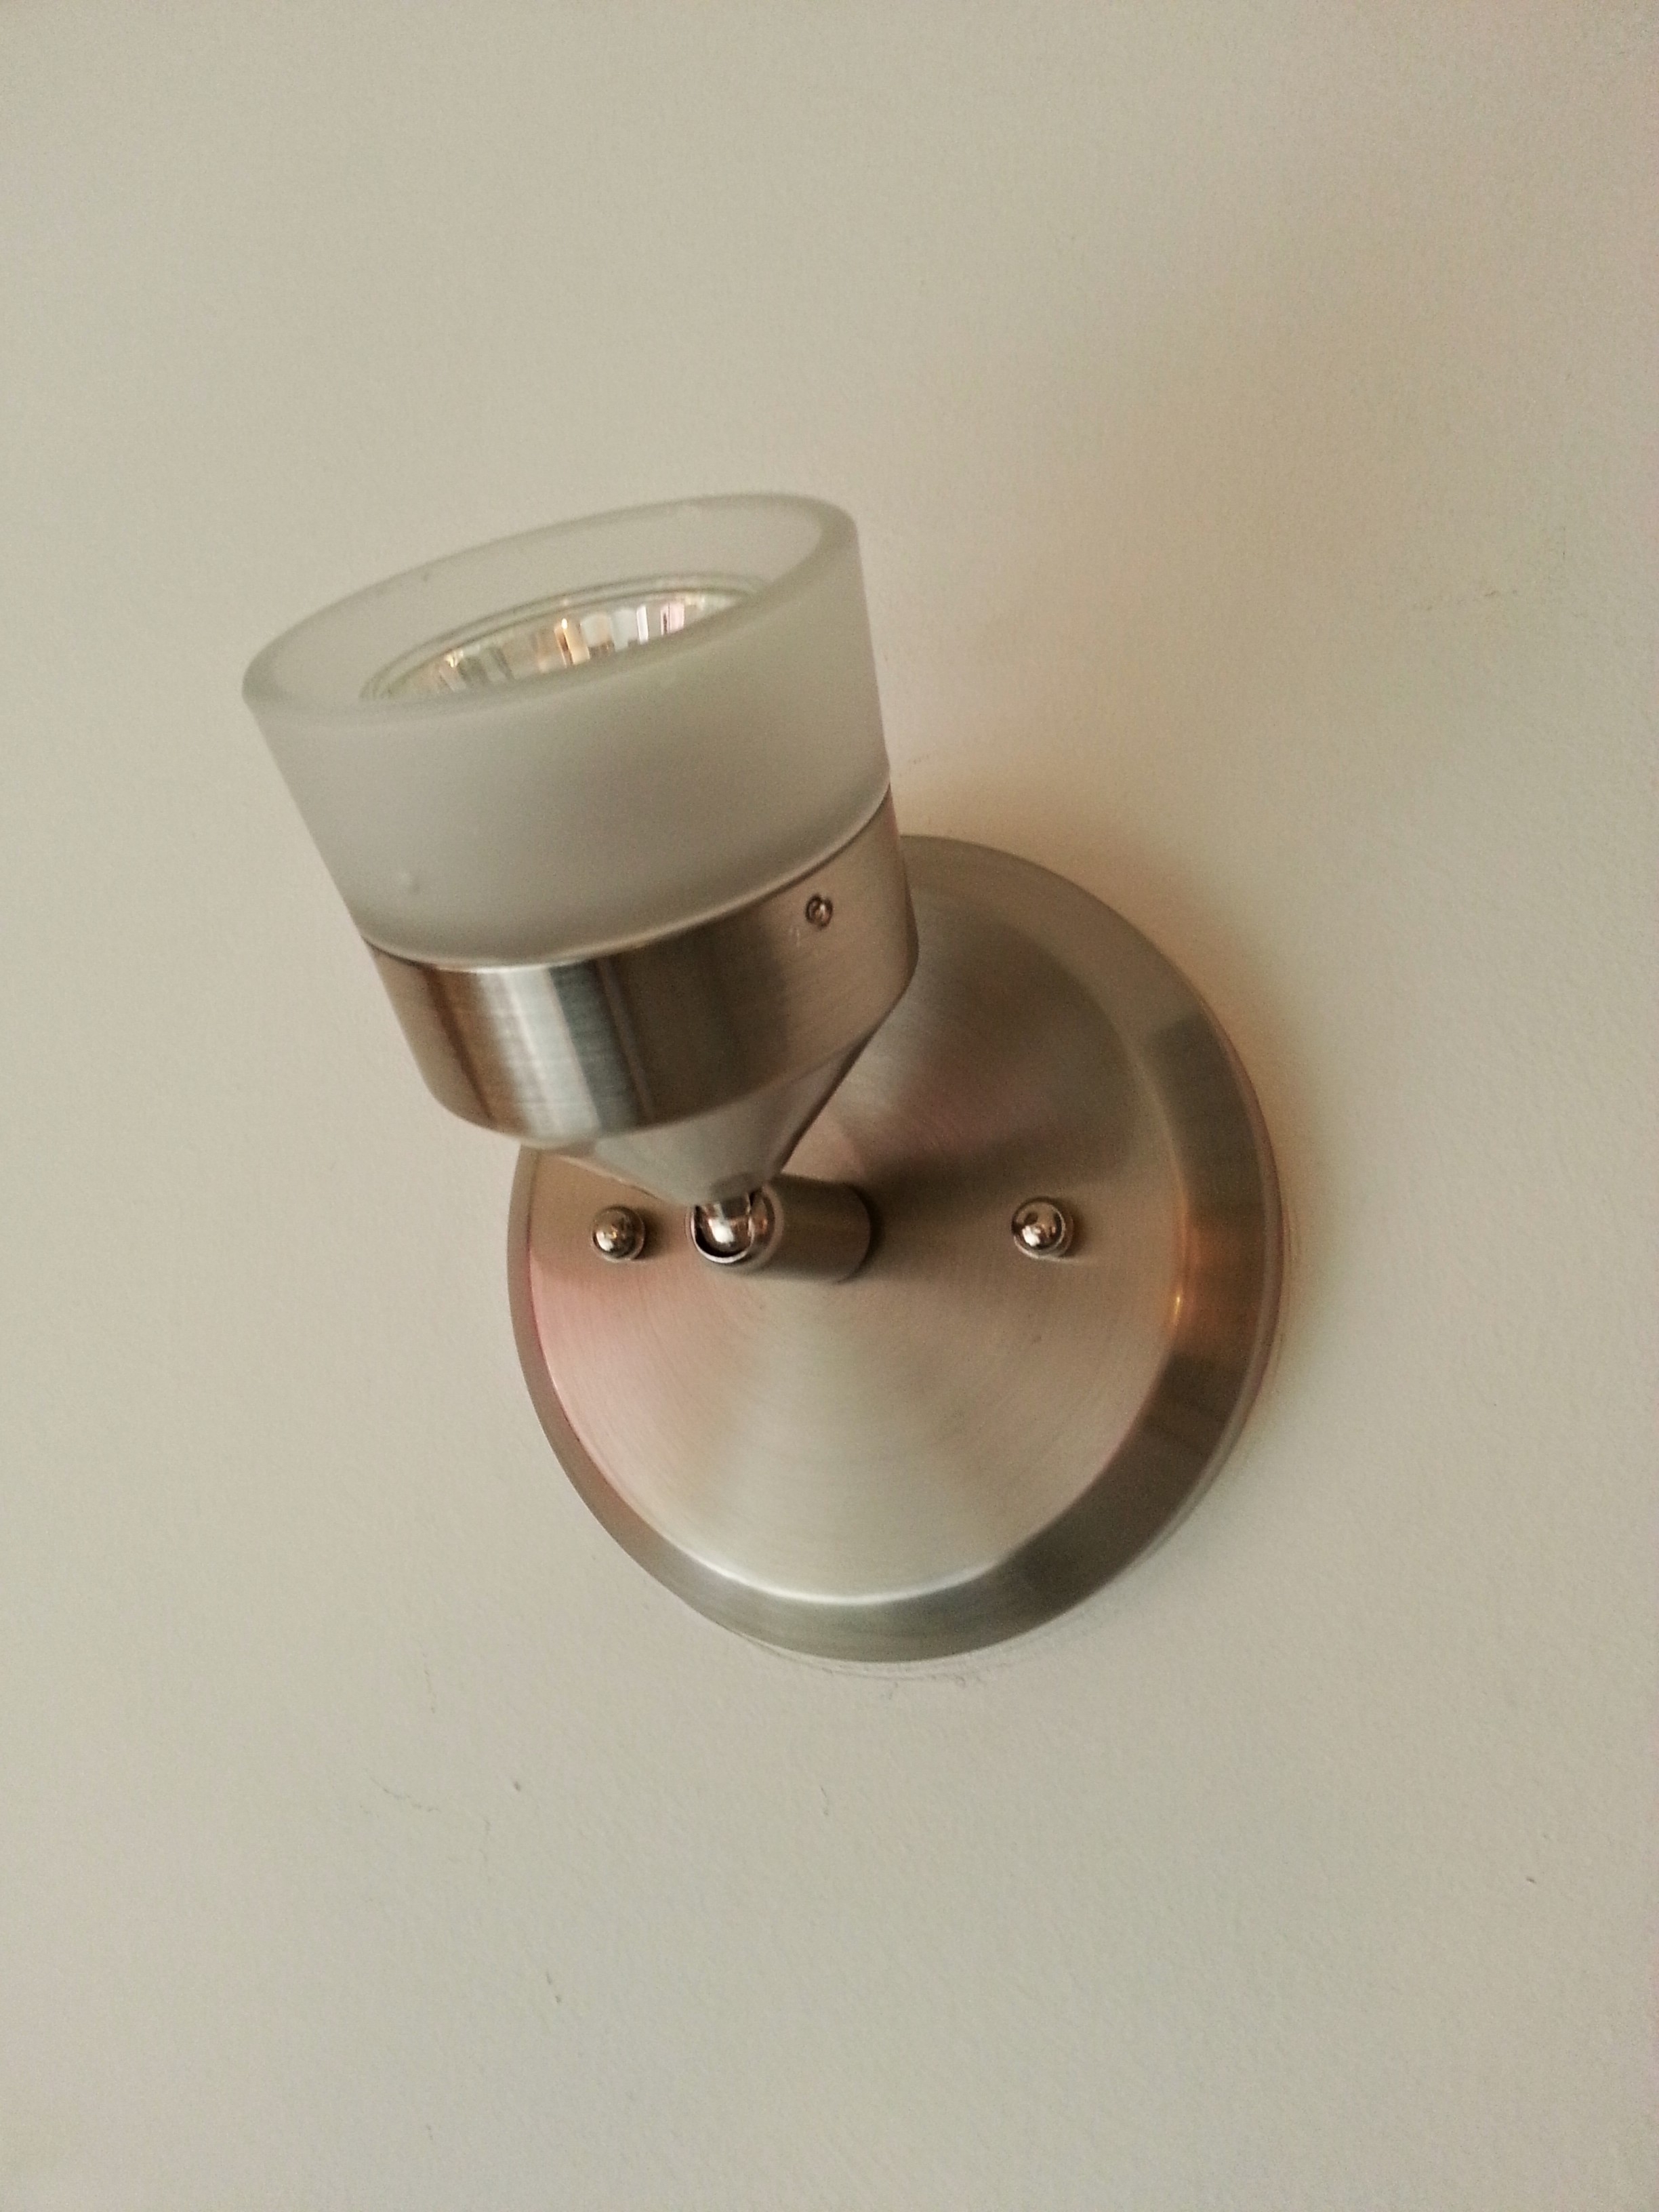
Small wall sconce installed upside down actually gives off a lot of light.
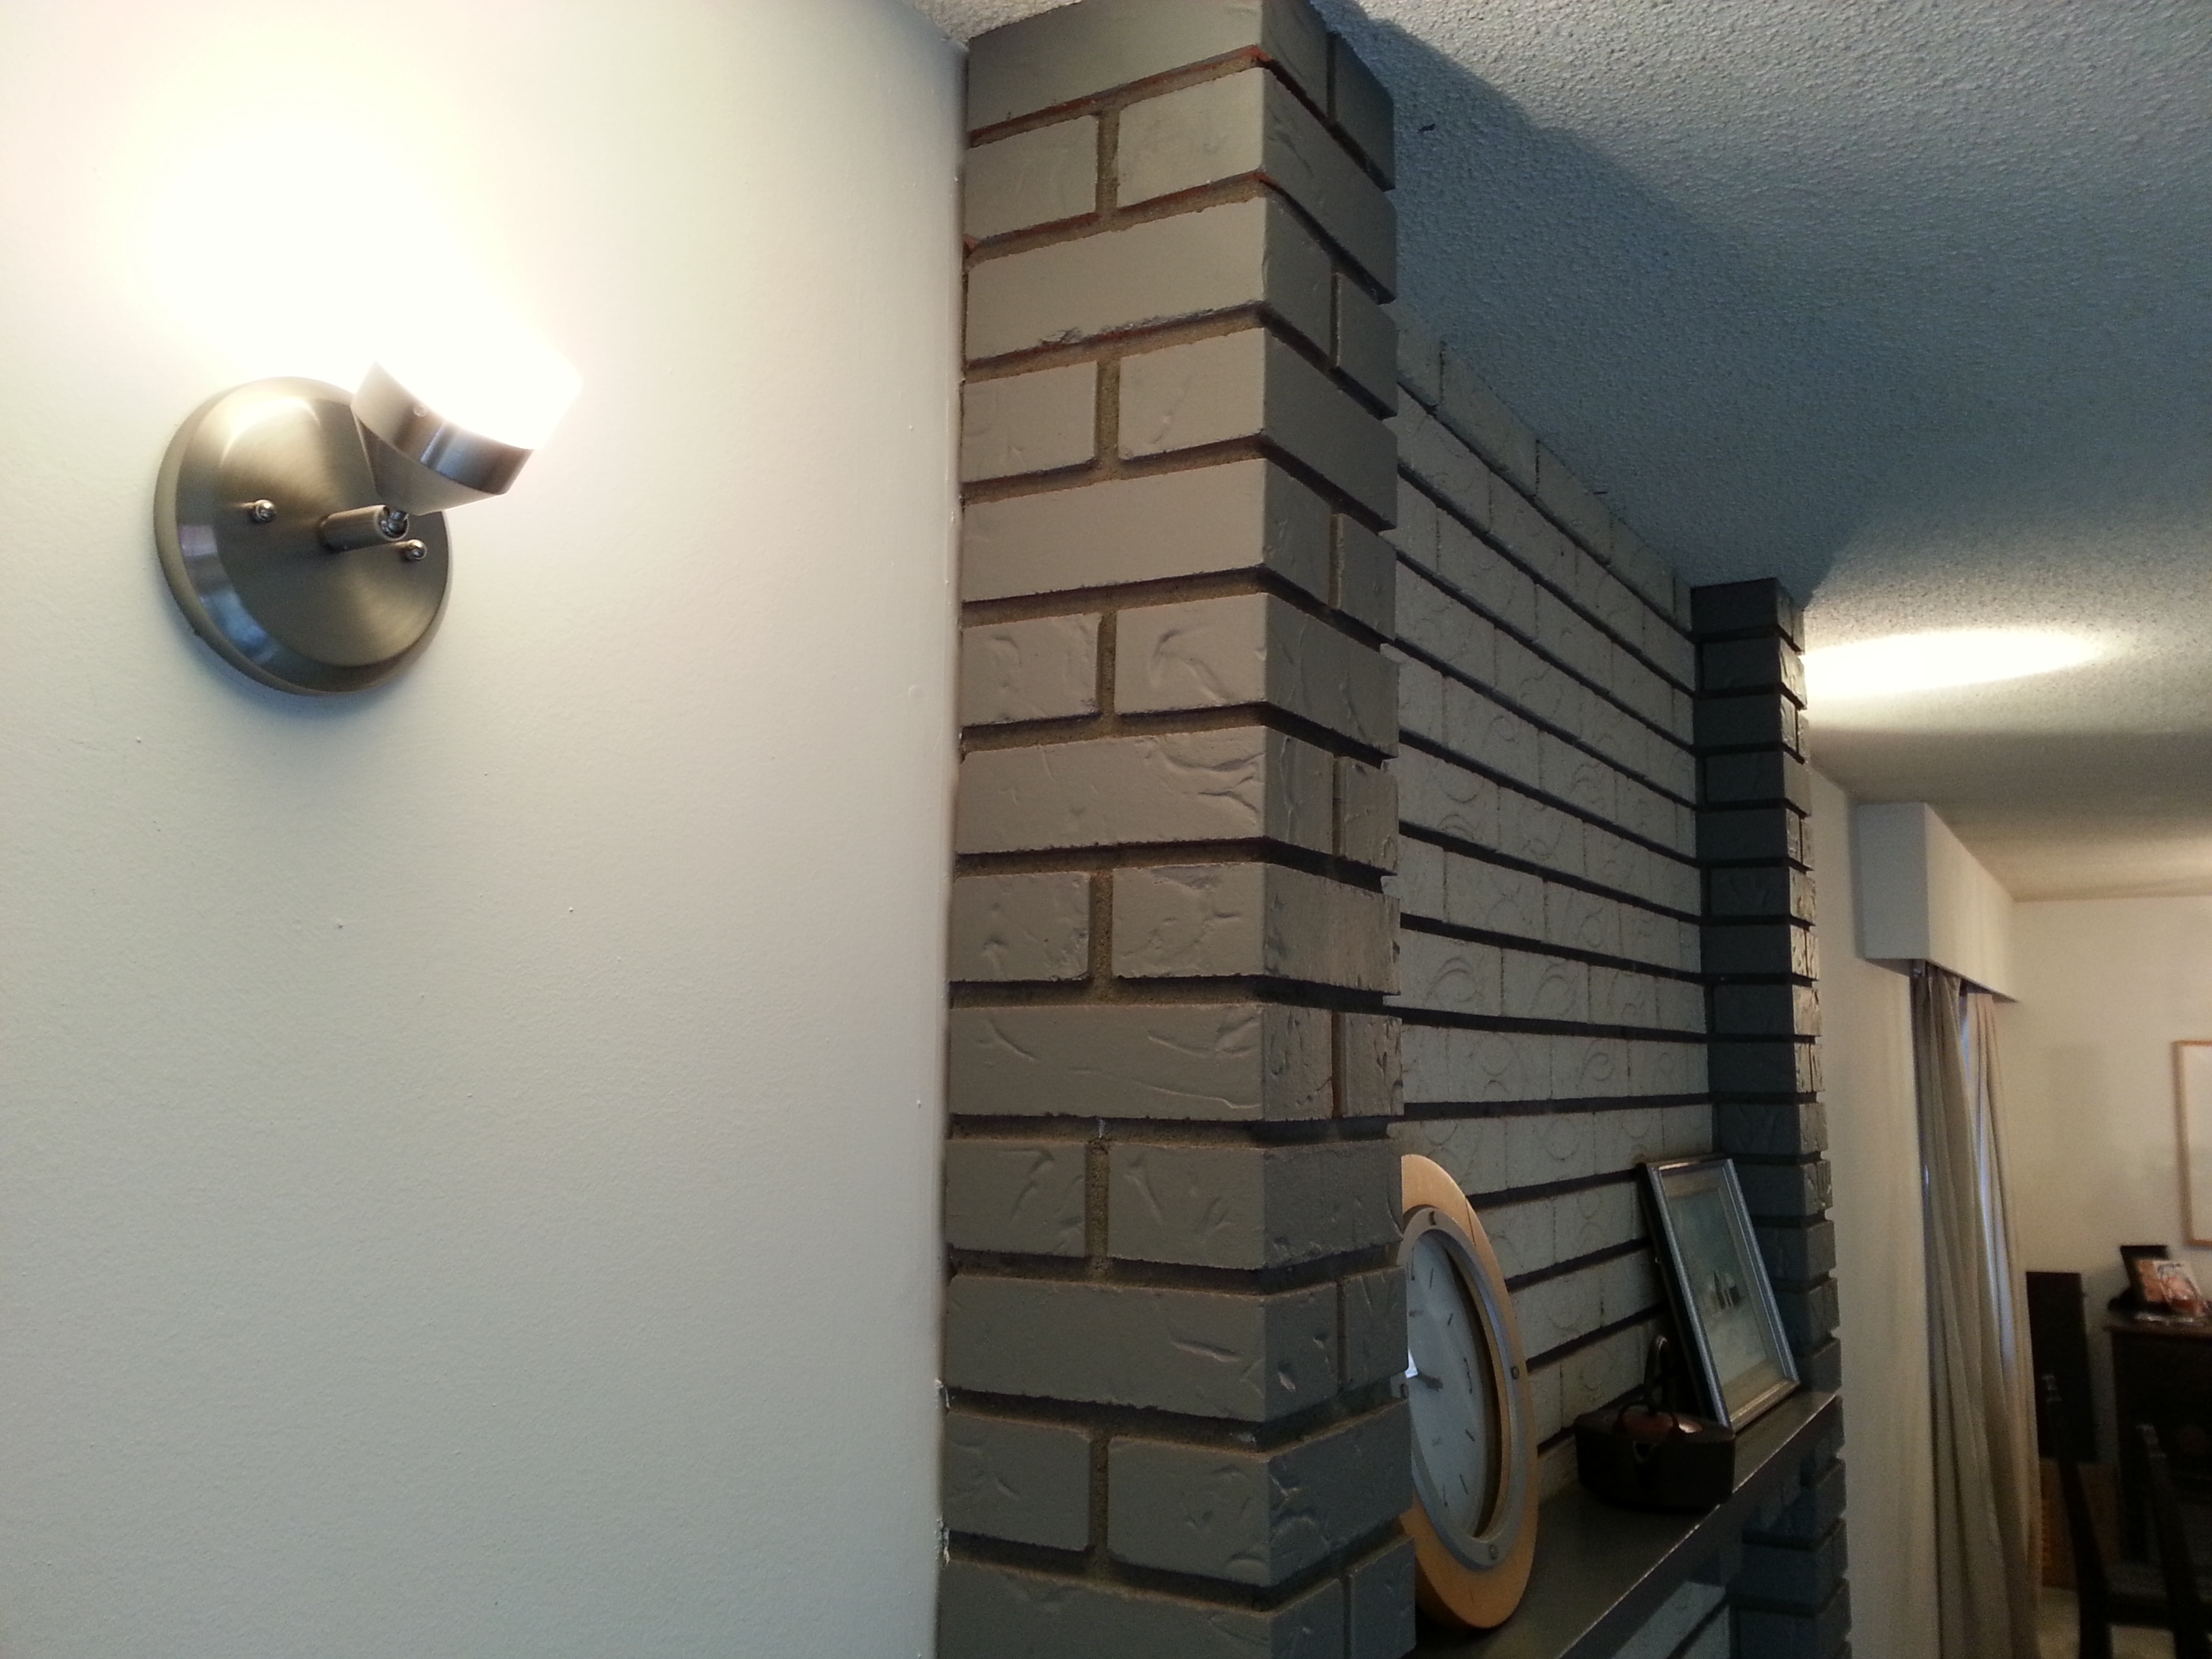
Lights on! Throwing light up and on either side of the fireplace. Mmm…warm…
The last thing I did with the fireplace was to clean and fix the slate. The slate had water marks on it, seemingly from a plant placed there. I tried everything to get them off – scrubbing, light sanding, vinegar, ammonia, CLR. I figured I’d just have to deal with them, but then I realized that when the slate was wet, the marks were gone. I Googled “wet look slate” and found that you can spray it with silicone to keep a wet look. I went to RONA (Canadian Home Depot) and got the best looking can of clear gloss spray paint. I tested it on a small patch and it looked great, so I did the whole length of the slate with two coats and the fireplace was done!
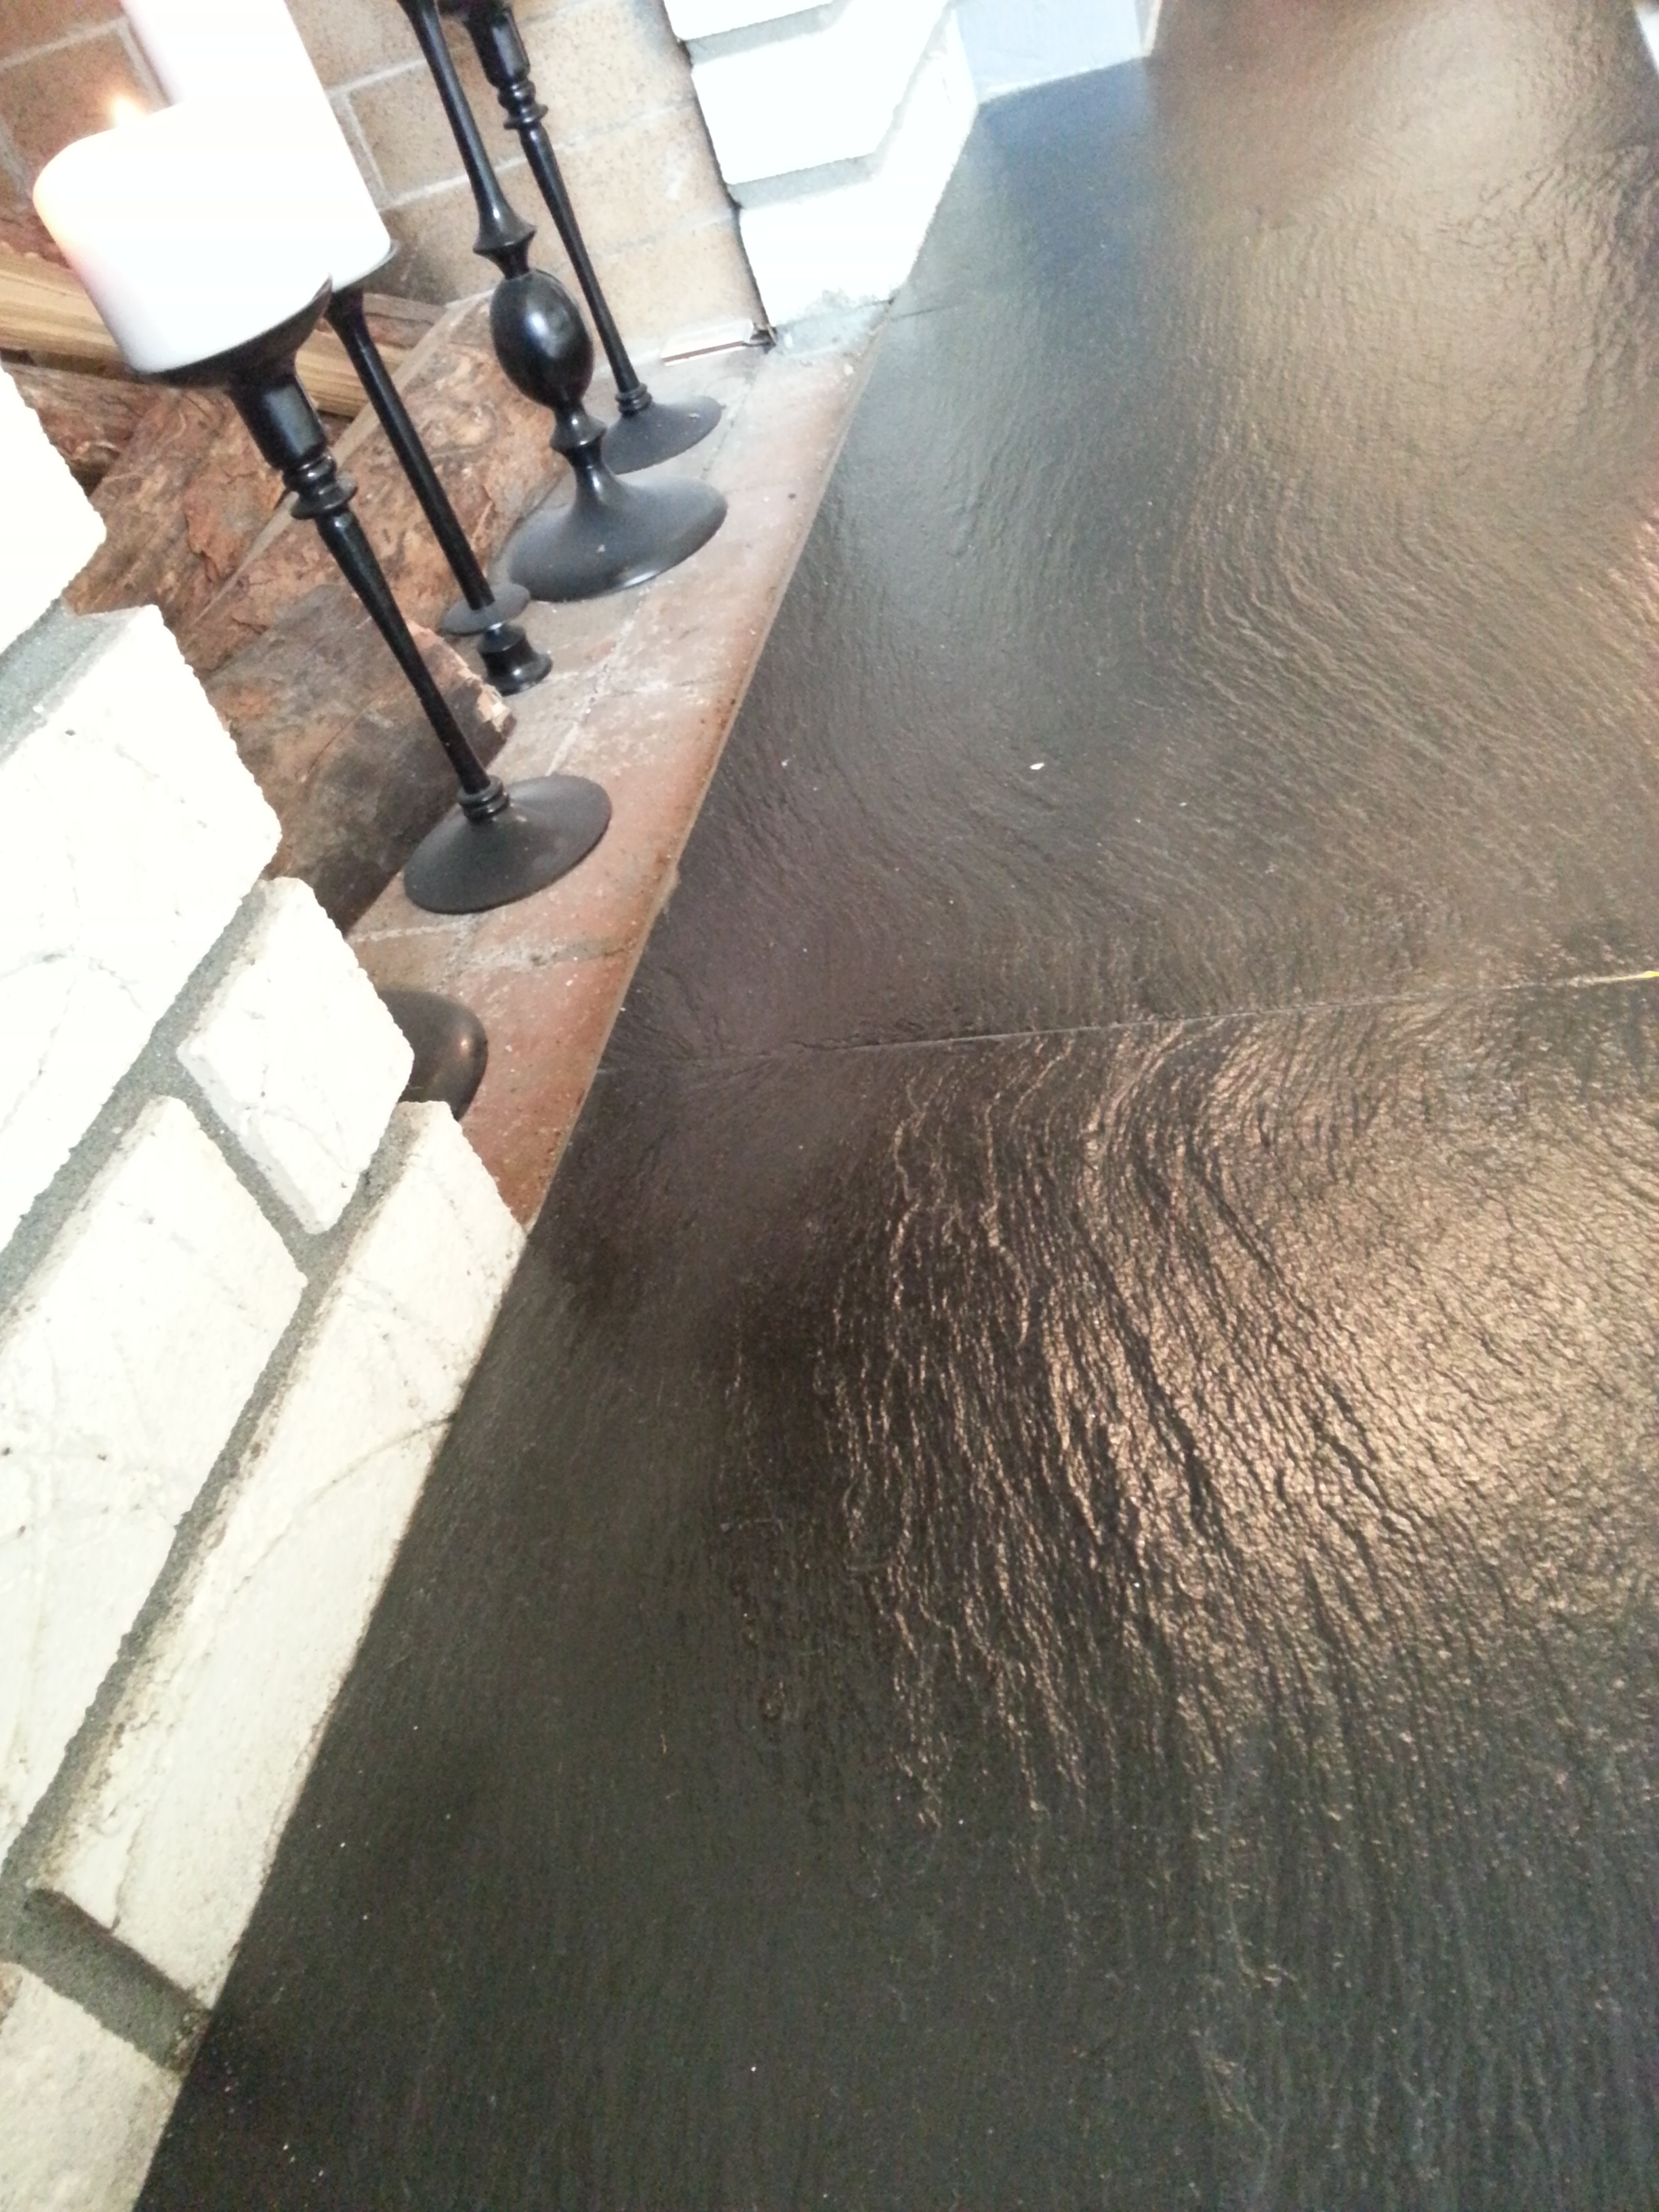
Wet look slate. The only problem is that it shows every little speck of dust.
I’ve since been enjoying lighting the candles and sitting down with a book (or more frequently, multiple children’s library books) in the afternoons when it’s rainy. It doesn’t give off heat (obviously), but it’s a nice warming glow, especially in the evenings.
UPDATE:
Here’s a nice photo that shows close up what the slate looked like before:
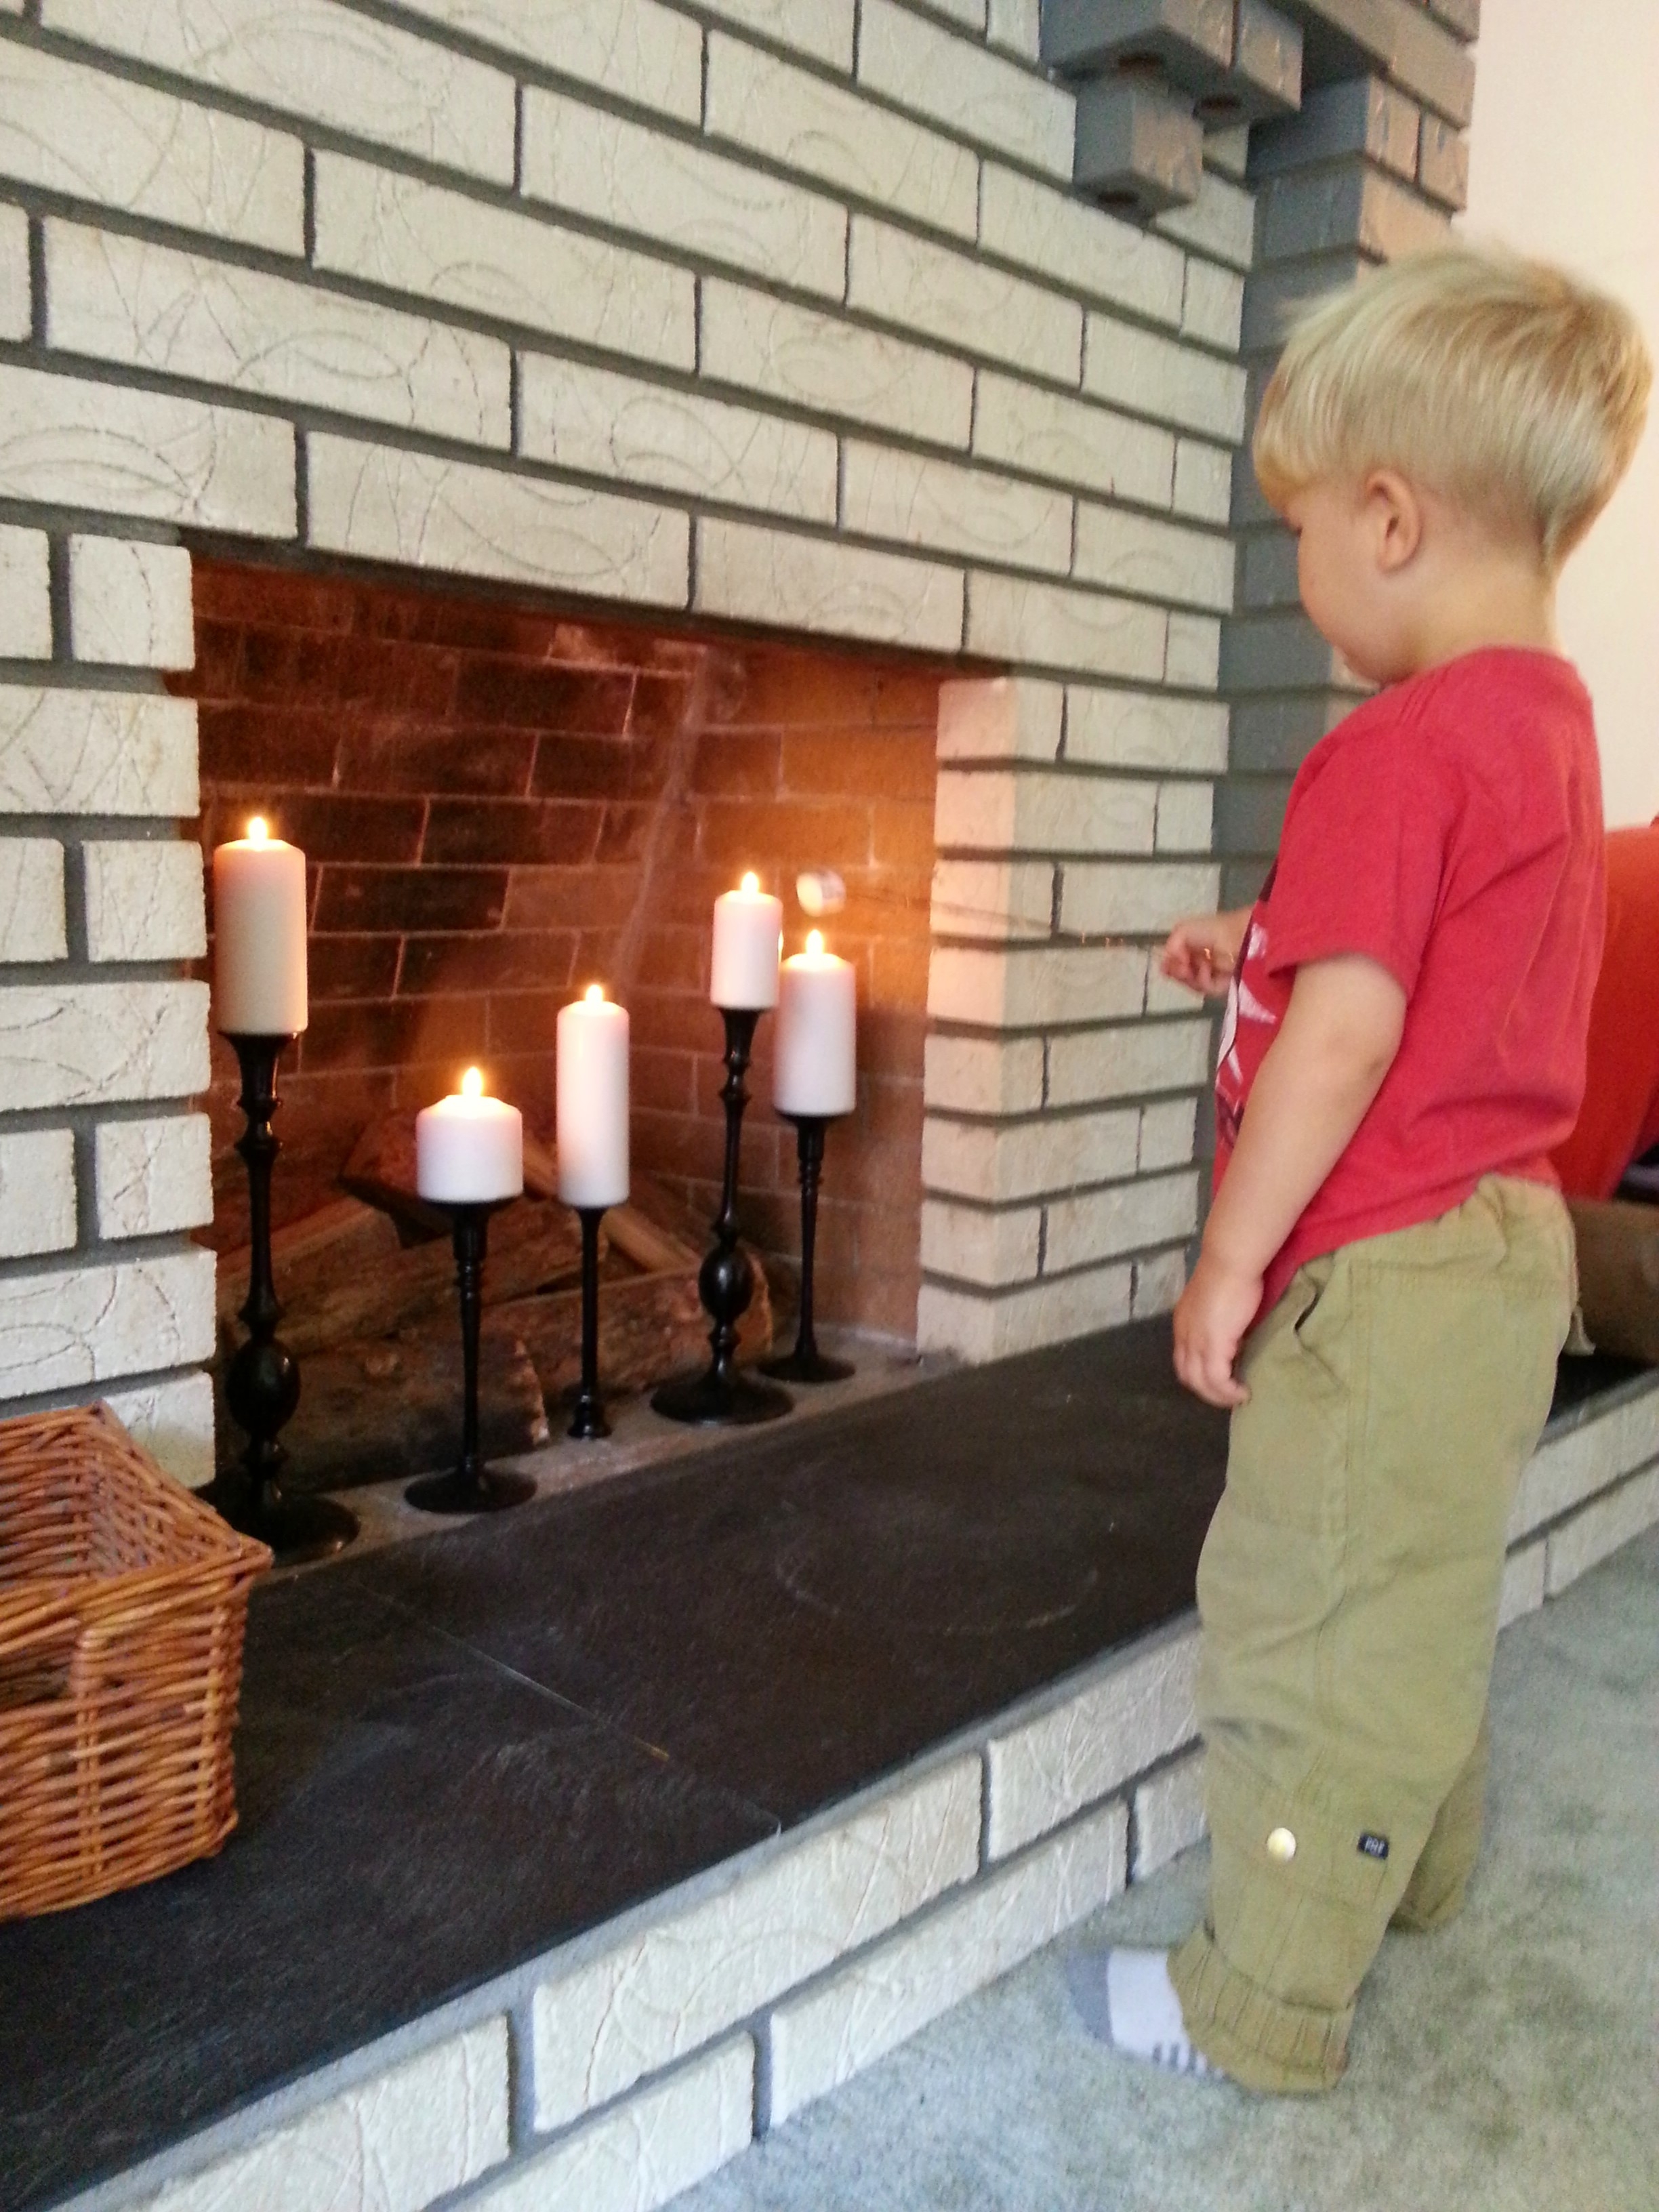
After spending all Summer road tripping and camping, Arlo was very excited to roast marshmallows in our fireplace : ) Notice the water marks and dingy looking slate. It’s all brightened up now with just a few coats of clear spray paint!