



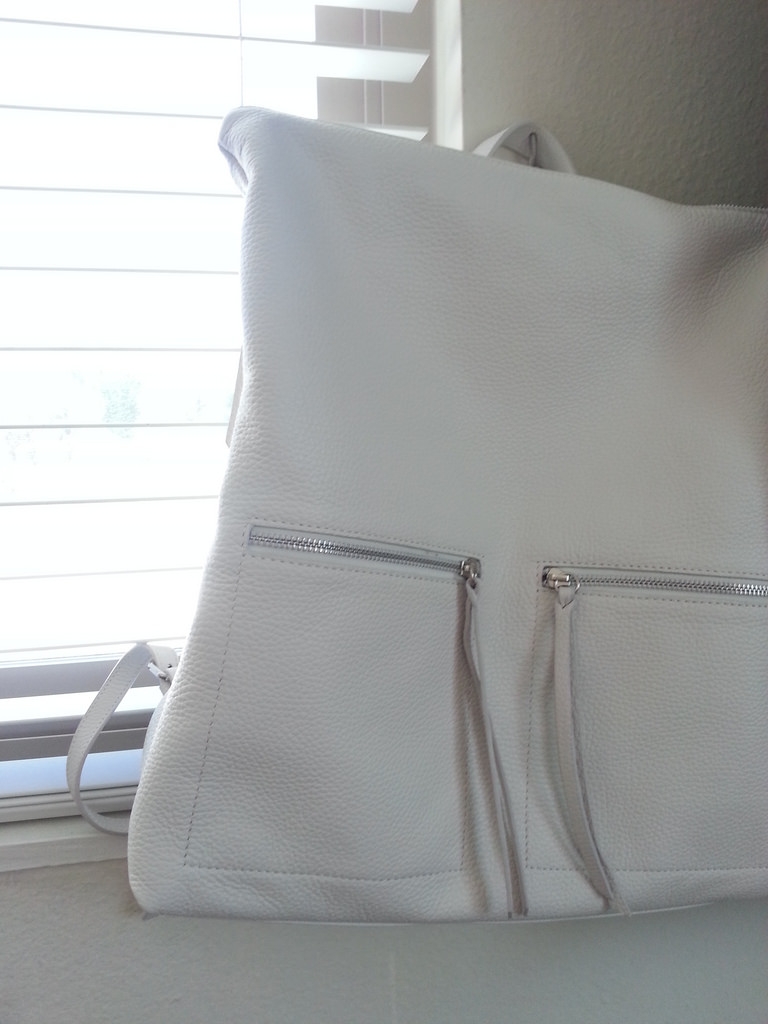
An lovely bag…and then I hacked it.
Lately I’ve been looking for a bag that can carry my laptop and serve as a purse, plus have a bit of room for a water bottle, a lunch, etc. I don’t like having to carry several small bags, but I also didn’t want a big giant bag. Finding a happy medium was difficult and everything that was designed to hold a laptop looked too preppy and everything that wasn’t looked too casual. I started to think about making a bag myself or perhaps adding some kind of laptop holding design into a pre-existing bag. Then, I saw this leather backpack and figured I could pretty easily hack a prefab laptop sleeve into it.
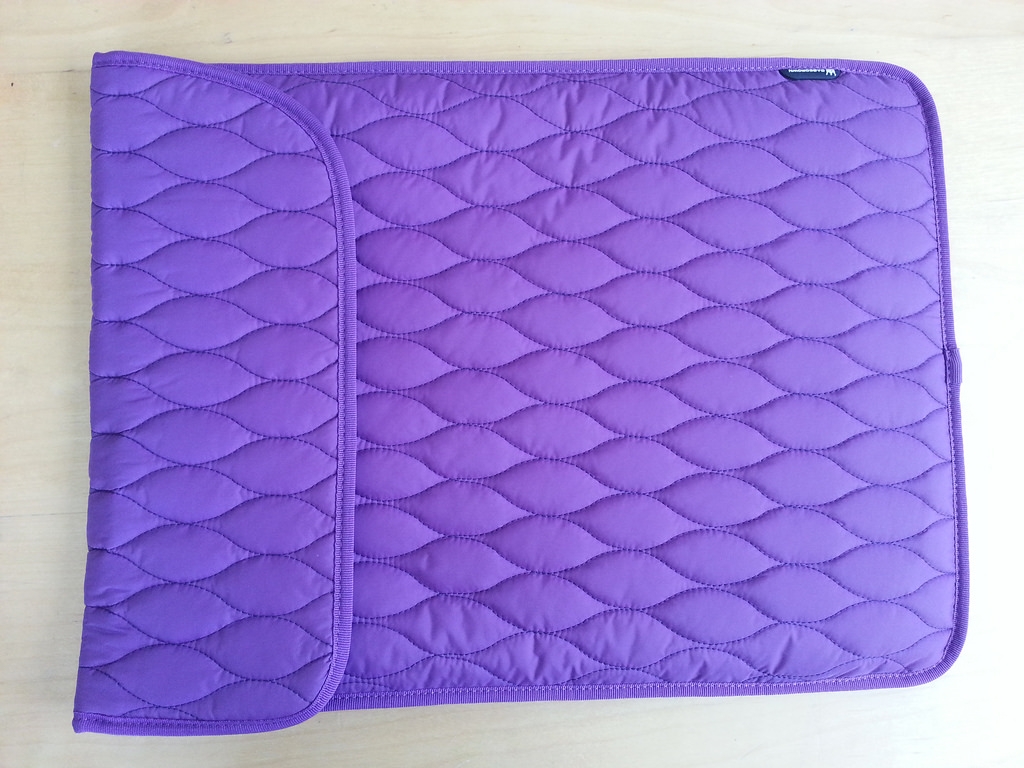
Just a plain old laptop sleeve.
So, I got a laptop sleeve (purple! my favorite color!) and thought about how to attach it into the bag. I wanted it to stay put inside the bag, but not pull at the lining and leather. I thought using a bit of elastic would work well, so I went to my sewing kit. There I found some left over elastic from some adjustable kids pants; the kind where the elastic has buttonholes so that jeans and other pants can quickly and easily be made tighter without a belt (to get a better idea or make some yourself, see this tutorial by super cool, feminist, DIY blogger Julie Kundhi). With this specialty elastic and some buttons, I could make the sleeve removable – even better!
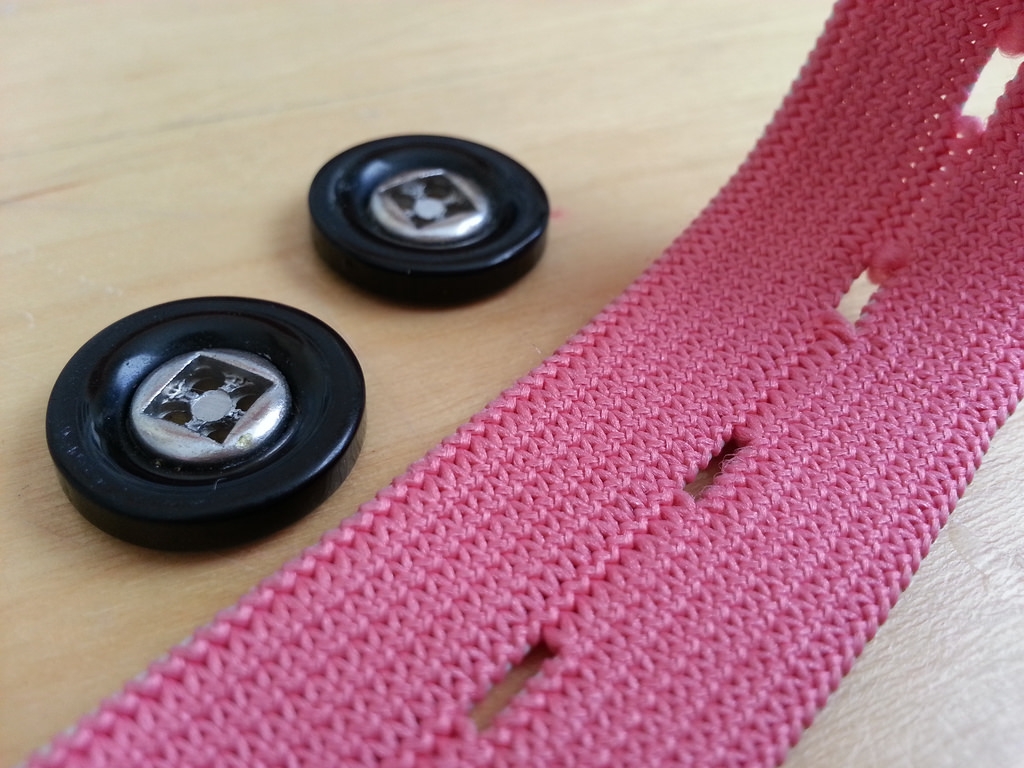
Buttonhole elastic and buttons.
I found some buttons that fit into the buttonholes of the elastic and then I cut the elastic into strips and finished the edges on the sewing machine.
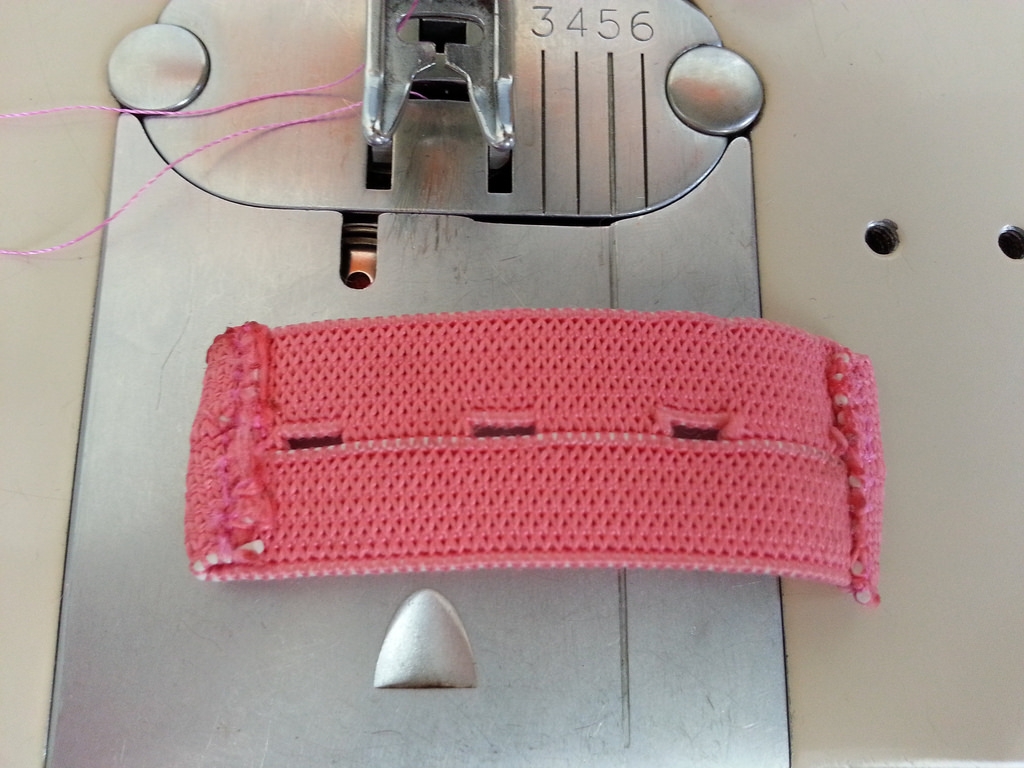
Forward and reverse, forward and reverse, done.
Hint: If you only need a little bit of a certain color of thread, you can just add some onto an existing bobbin of thread.
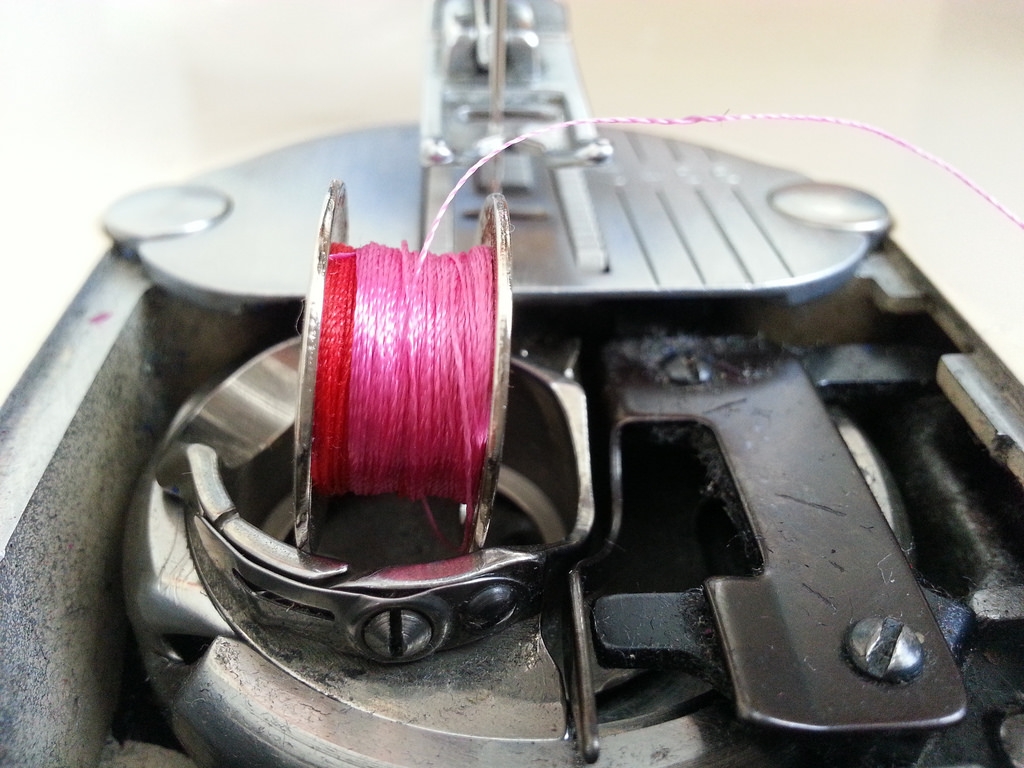
I wasted a lot of thread before I realized I don’t have to pull it all off the bobbin just to change the color.
Next I measured out where everything would meet up – the buttons into the elastic, the buttons onto the bag, the elastic onto the sleeve, etc.
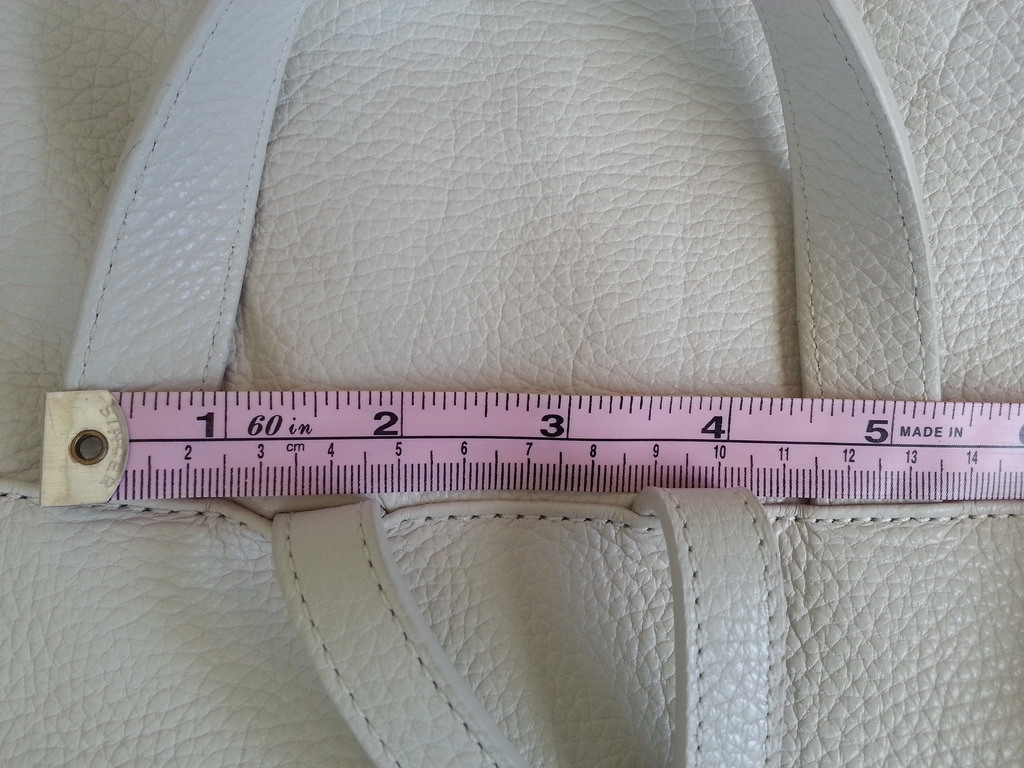
I attached the buttons along the existing seem and aligned them to where the handle attaches to the bag.
I marked my measurements with chalk and hand stitched the elastic to the sleeve.
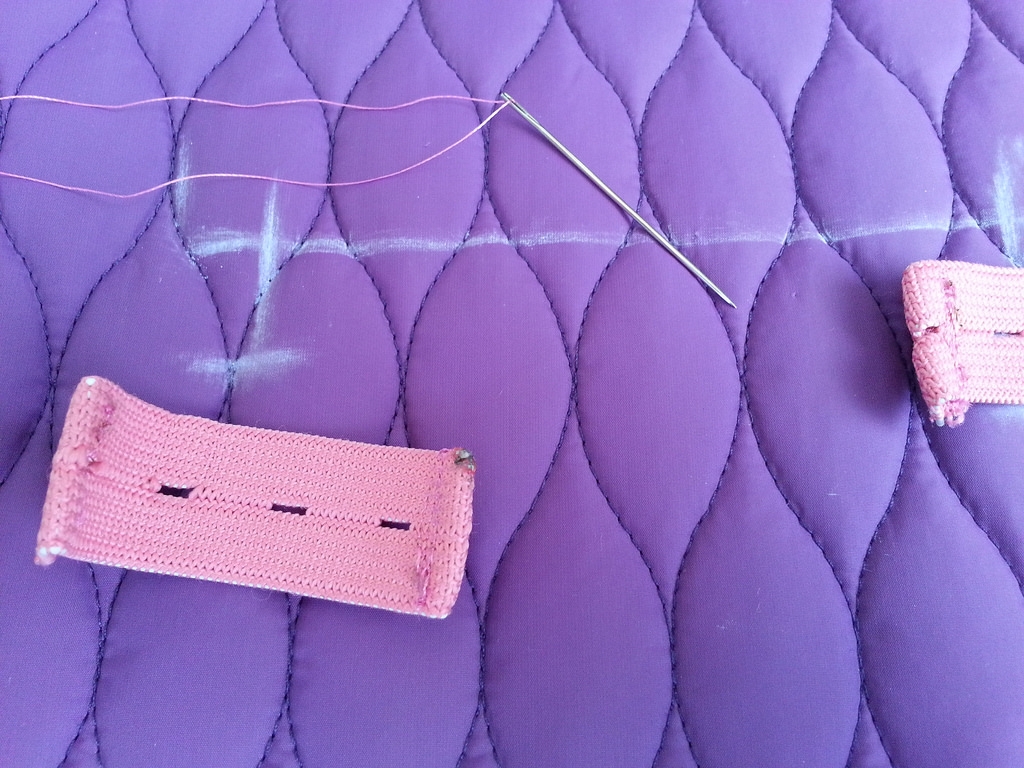
I burned the edges of the elastic with a lighter to prevent fraying.
And, the buttons to the bag.
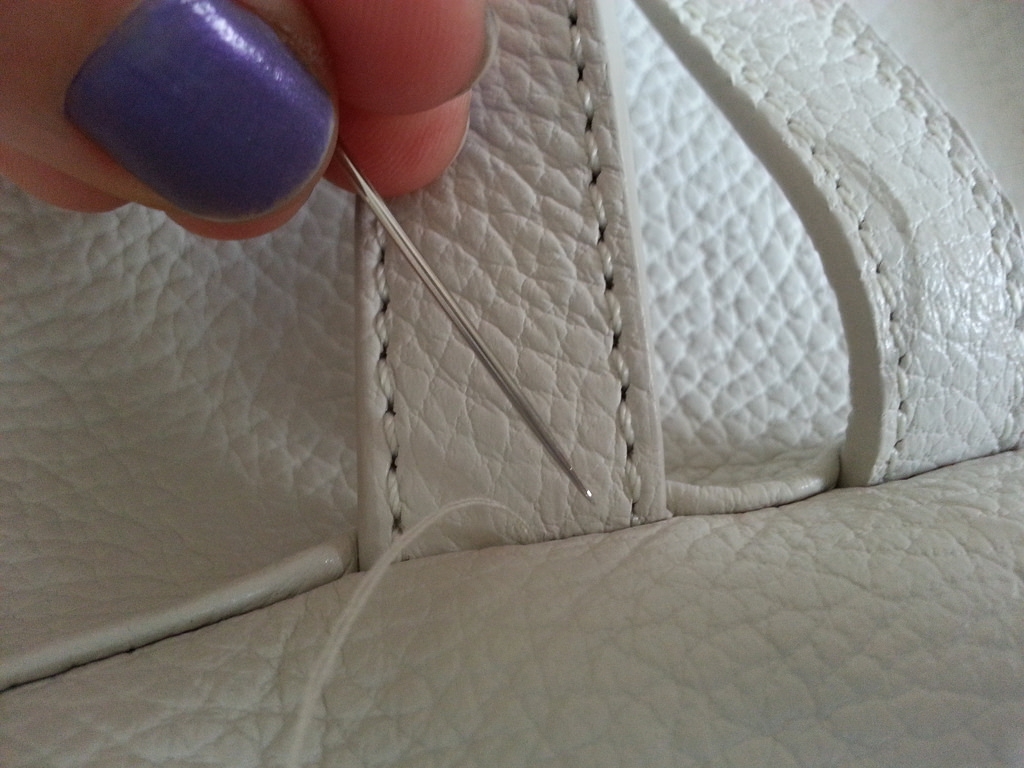
I used a heavy duty fabric needle, but not a leather needle because I didn’t want to make a big whole through the lining. I had to use a cup for leverage to push the needle but otherwise it worked just fine.
This is how the elastic on the sleeve turned out.
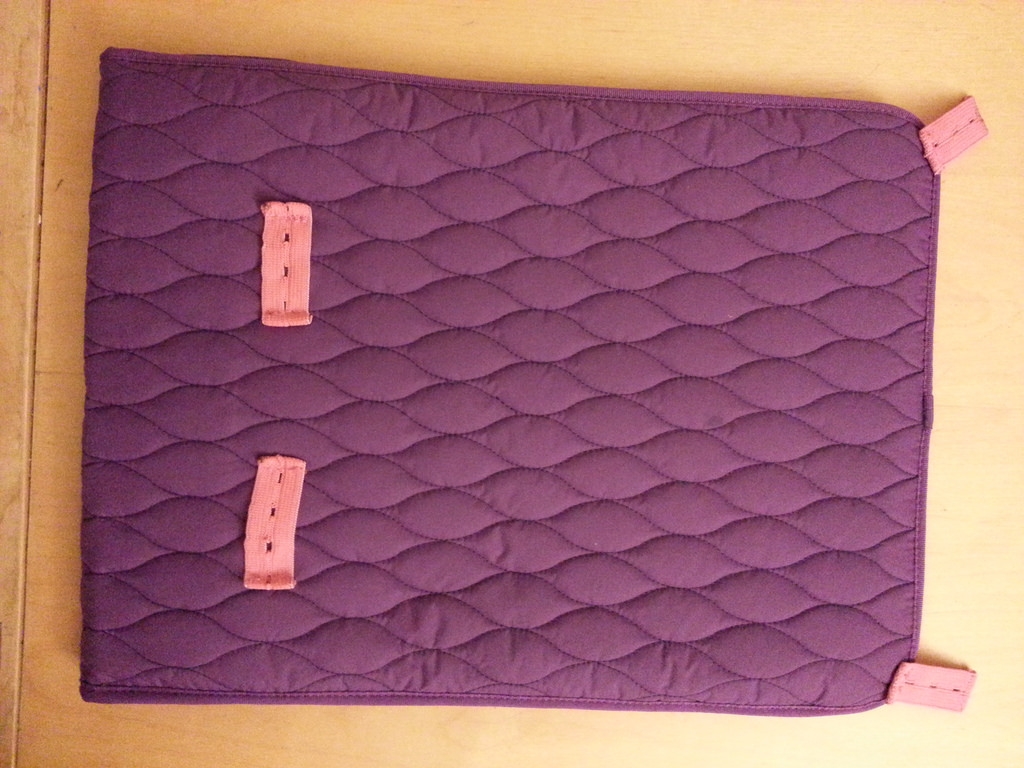
Top and bottom buttonhole elastic.
And the buttons on the bag.
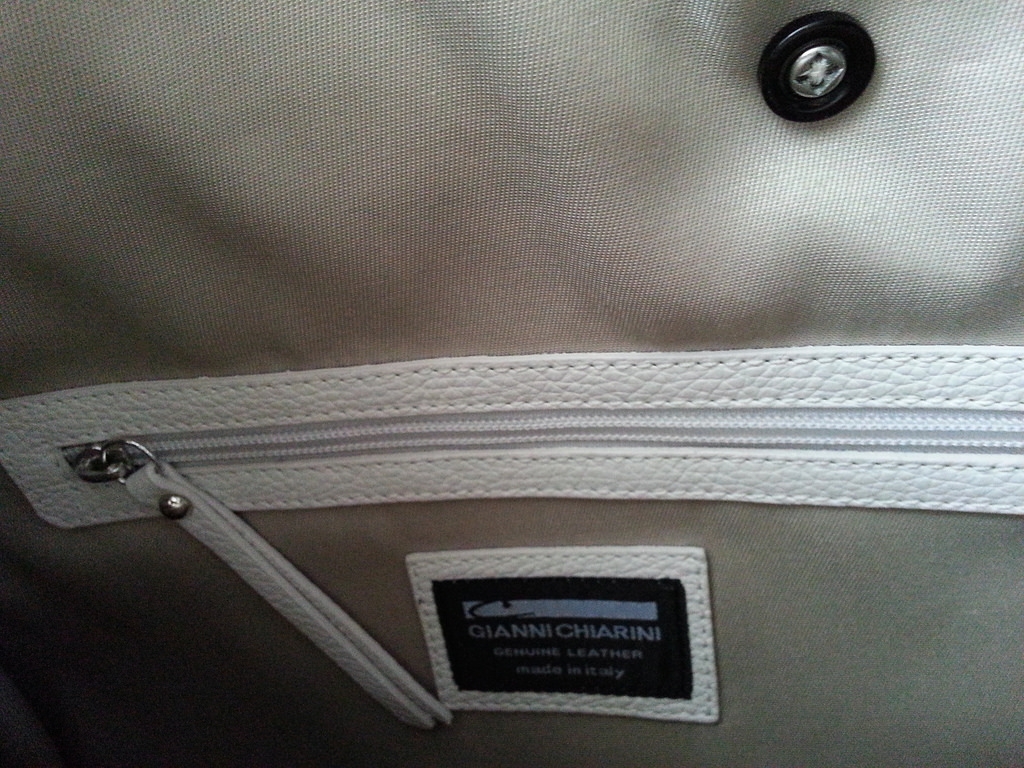
Button inside bag.
Then, I tried it out.
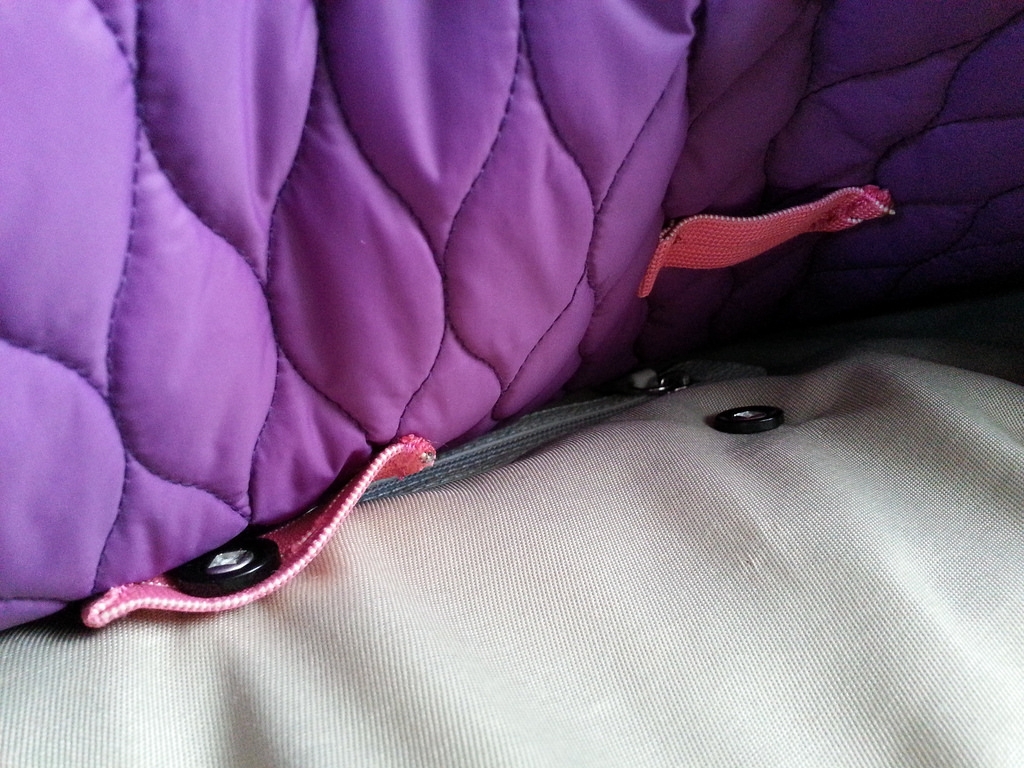
Attaching sleeve to bag by button and buttonhole elastic.
The buttons at the bottom were too far down at first, and when I put the backpack on, they pulled and popped off. I put them on again just a bit higher and it worked perfectly.
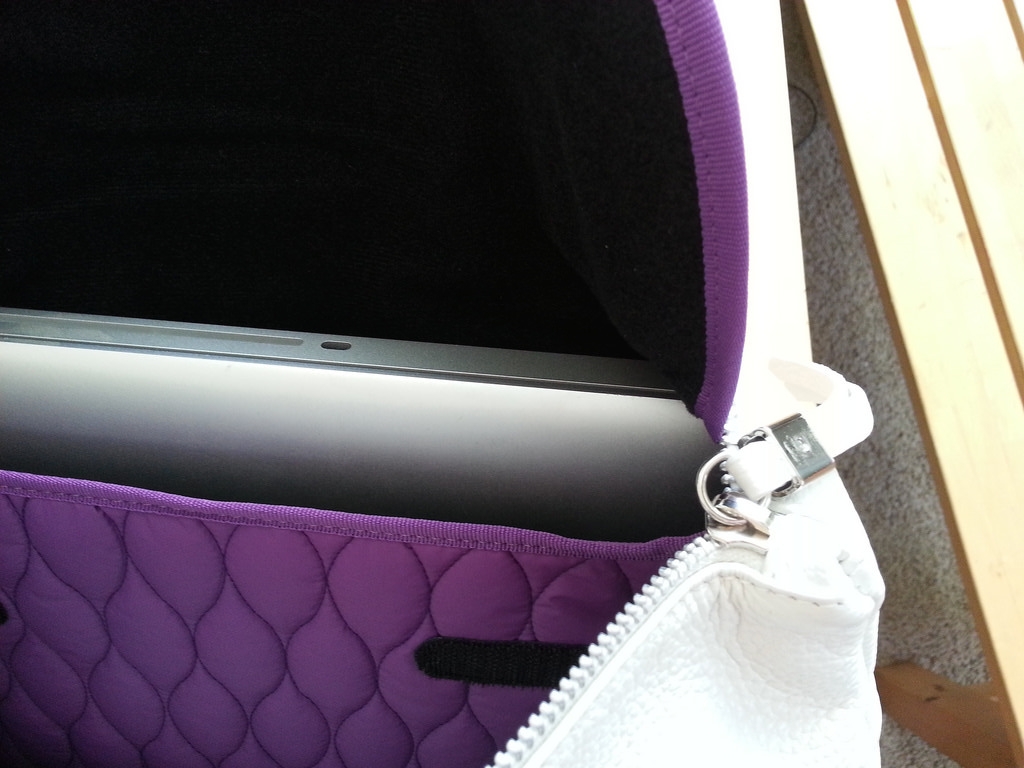
Laptop in sleeve attached to bag – a beautiful, perfect hack!