


Valentin’s Day heart Valentin’s Day heart nail artnail art
Last night my husband took the boys outside to look for big sticks – a favorite past time for my toddler son – and I took a little time to myself to paint my nails. I got a gel manicure for my birthday two weeks ago and it started to chip at the tips last week. I posted a picture of my nail cut short where the gel had chipped on Instagram. It’s a hacked solution to keep my nails looking nice for a bit longer than they otherwise would and to avoid having to go in for another manicure so soon.
My nails aren’t very strong – they tear and break easily and I’ve gotten used to keeping them short. So, when my gel chips at the tip, I don’t mind cutting the nail down past the chip. But, in order to keep my nails looking nice, I can’t just trim the tip. Because gel is meant to last long and be strong, it can be very difficult to remove and you can wreck your nails in the process. I prefer to let my nails grow out between gel manicures, but I don’t like to see bare nail below the gel. I’ve developed a trick to solve this problem and it is pretty simple actually. I call it a mini-manicure and it can be done as a pedicure too.
How to extend a manicure with polish over gel
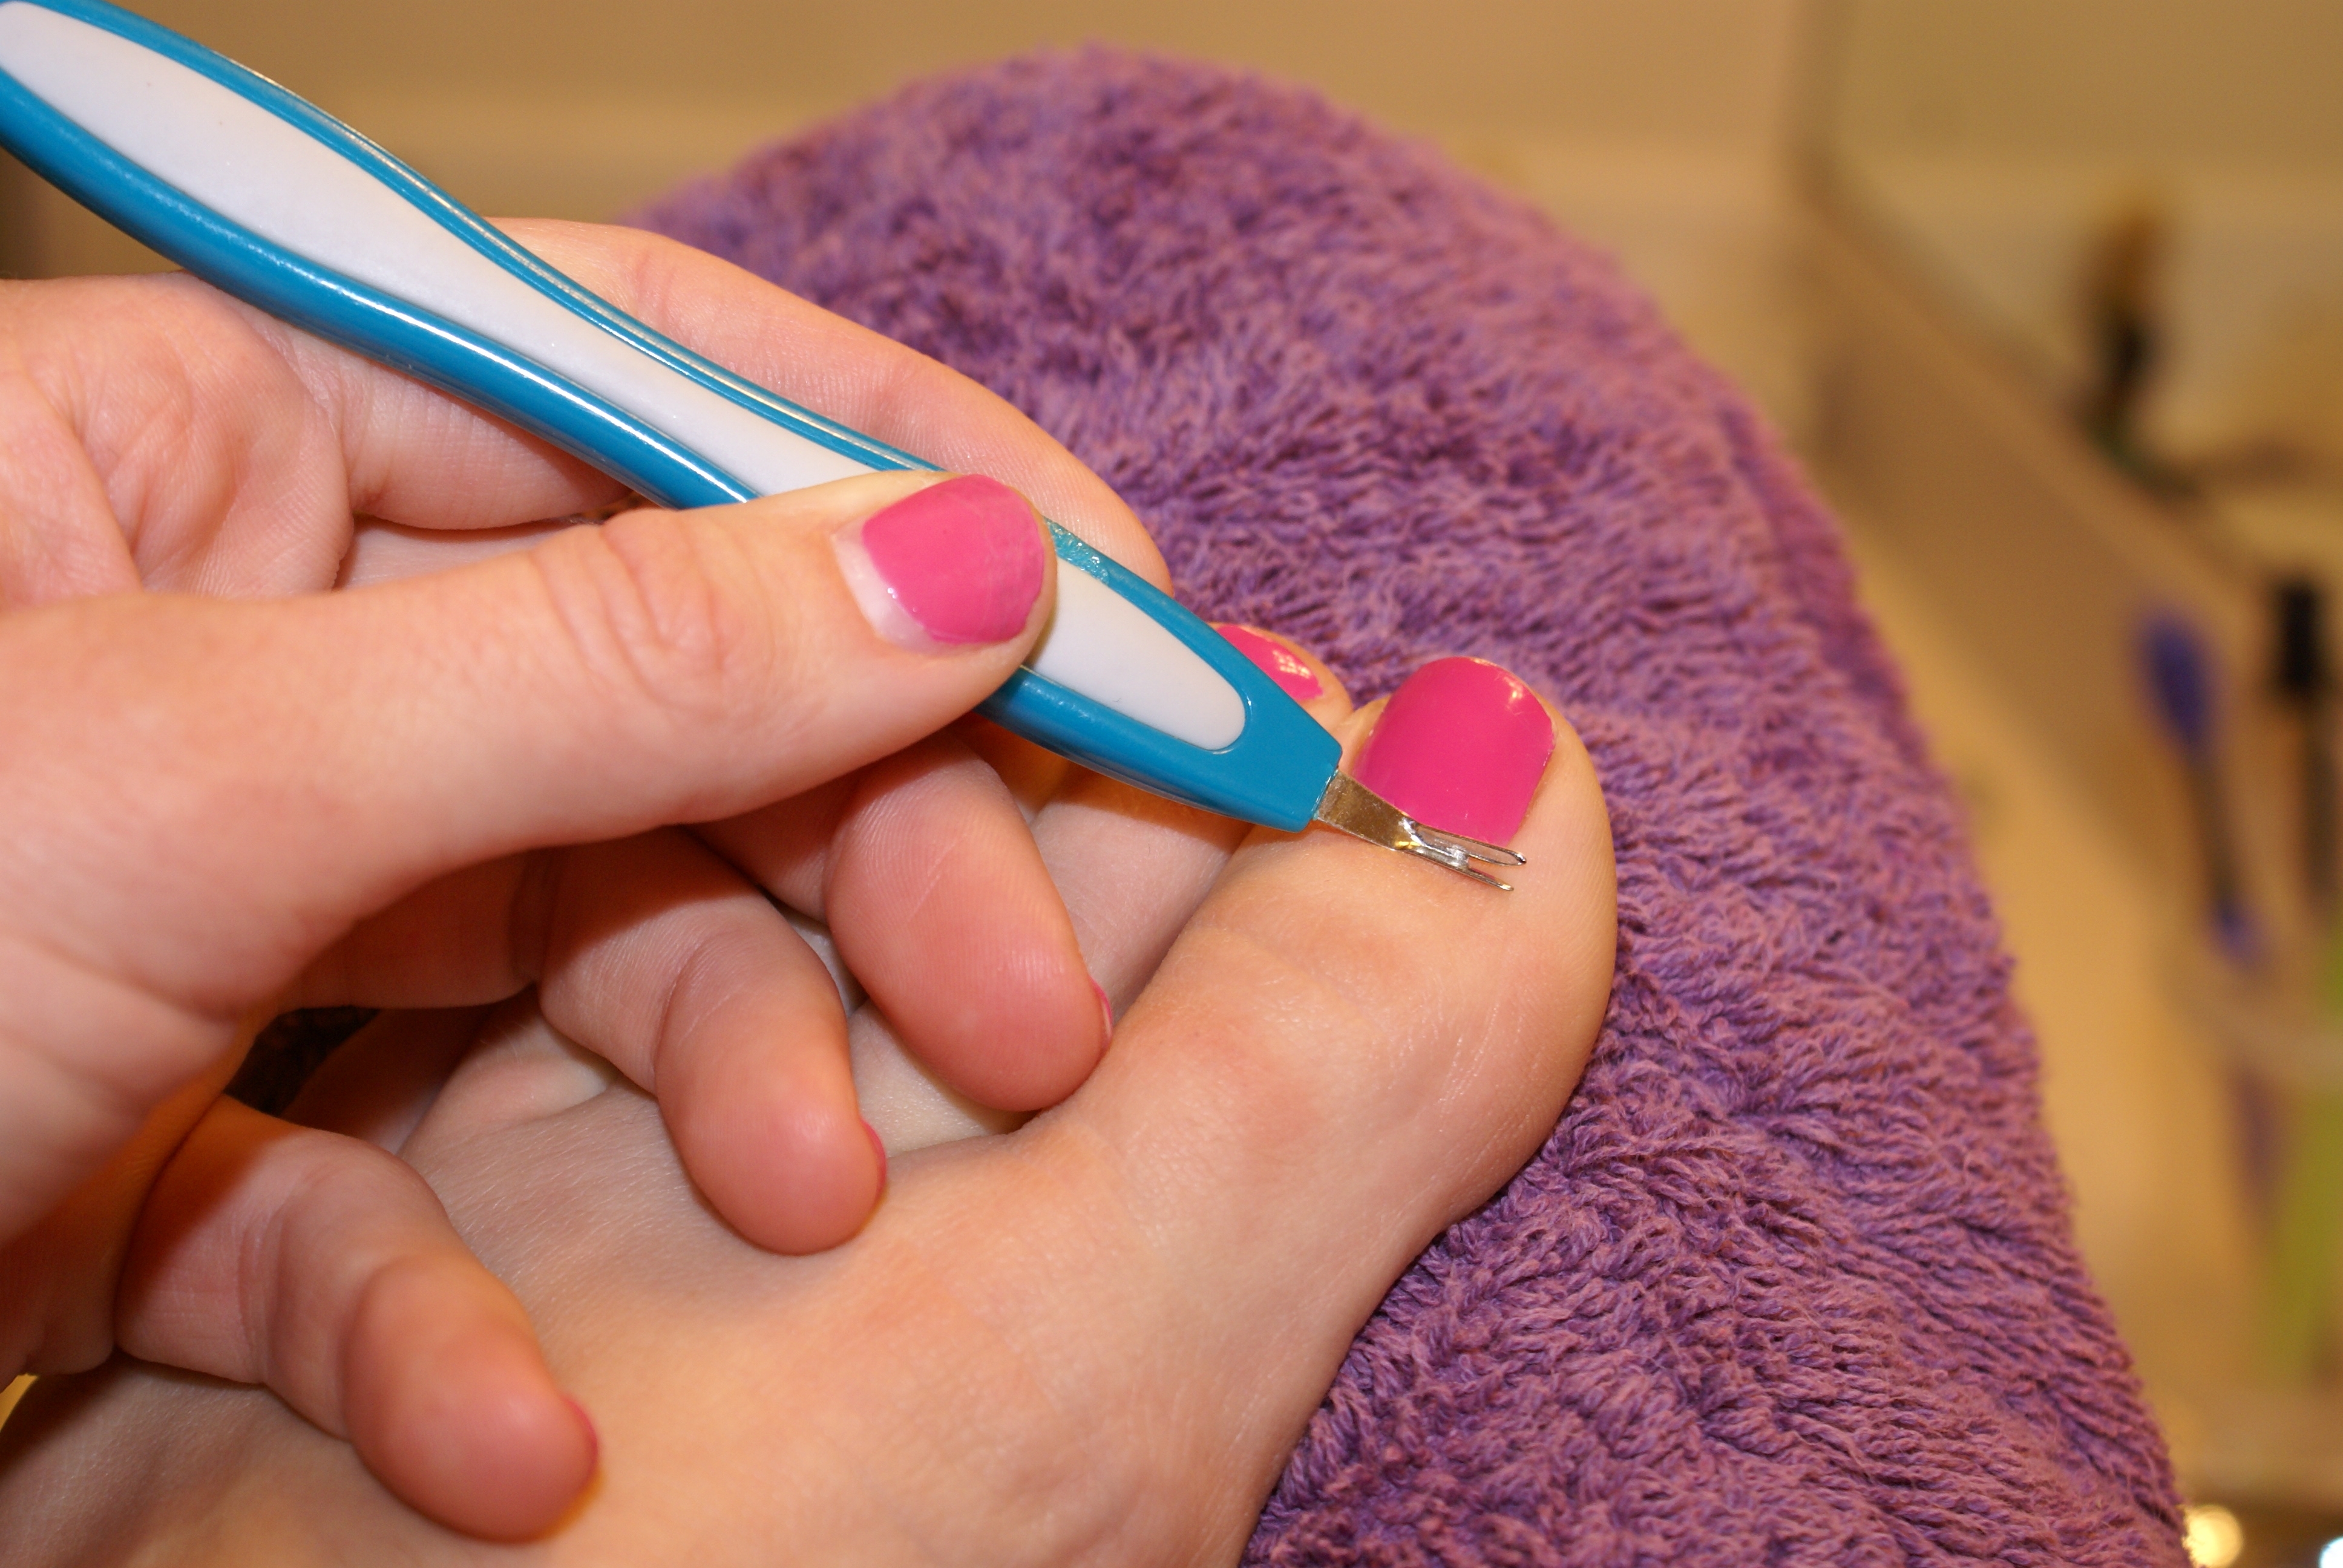
Cuticle knife on toenail. Notice bare fingernail where gel has grown out.
For my mini-manicure or mini-pedicure, I start by moisturizing my cuticles. Then, I soak my hands (and/or feet, if doing a mini-pedicure) in hot, soapy water. I dry off my hands and use a cuticle knife to remove any excess cuticle from my nails. This often also takes off a bit off gel or polish from near the cuticle. That’s not a problem – it’s actually good to remove any lumpy bits of polish and a cuticle knife is the perfect tool for that. Next, I buff my nails just enough to roughen them up a tiny bit.
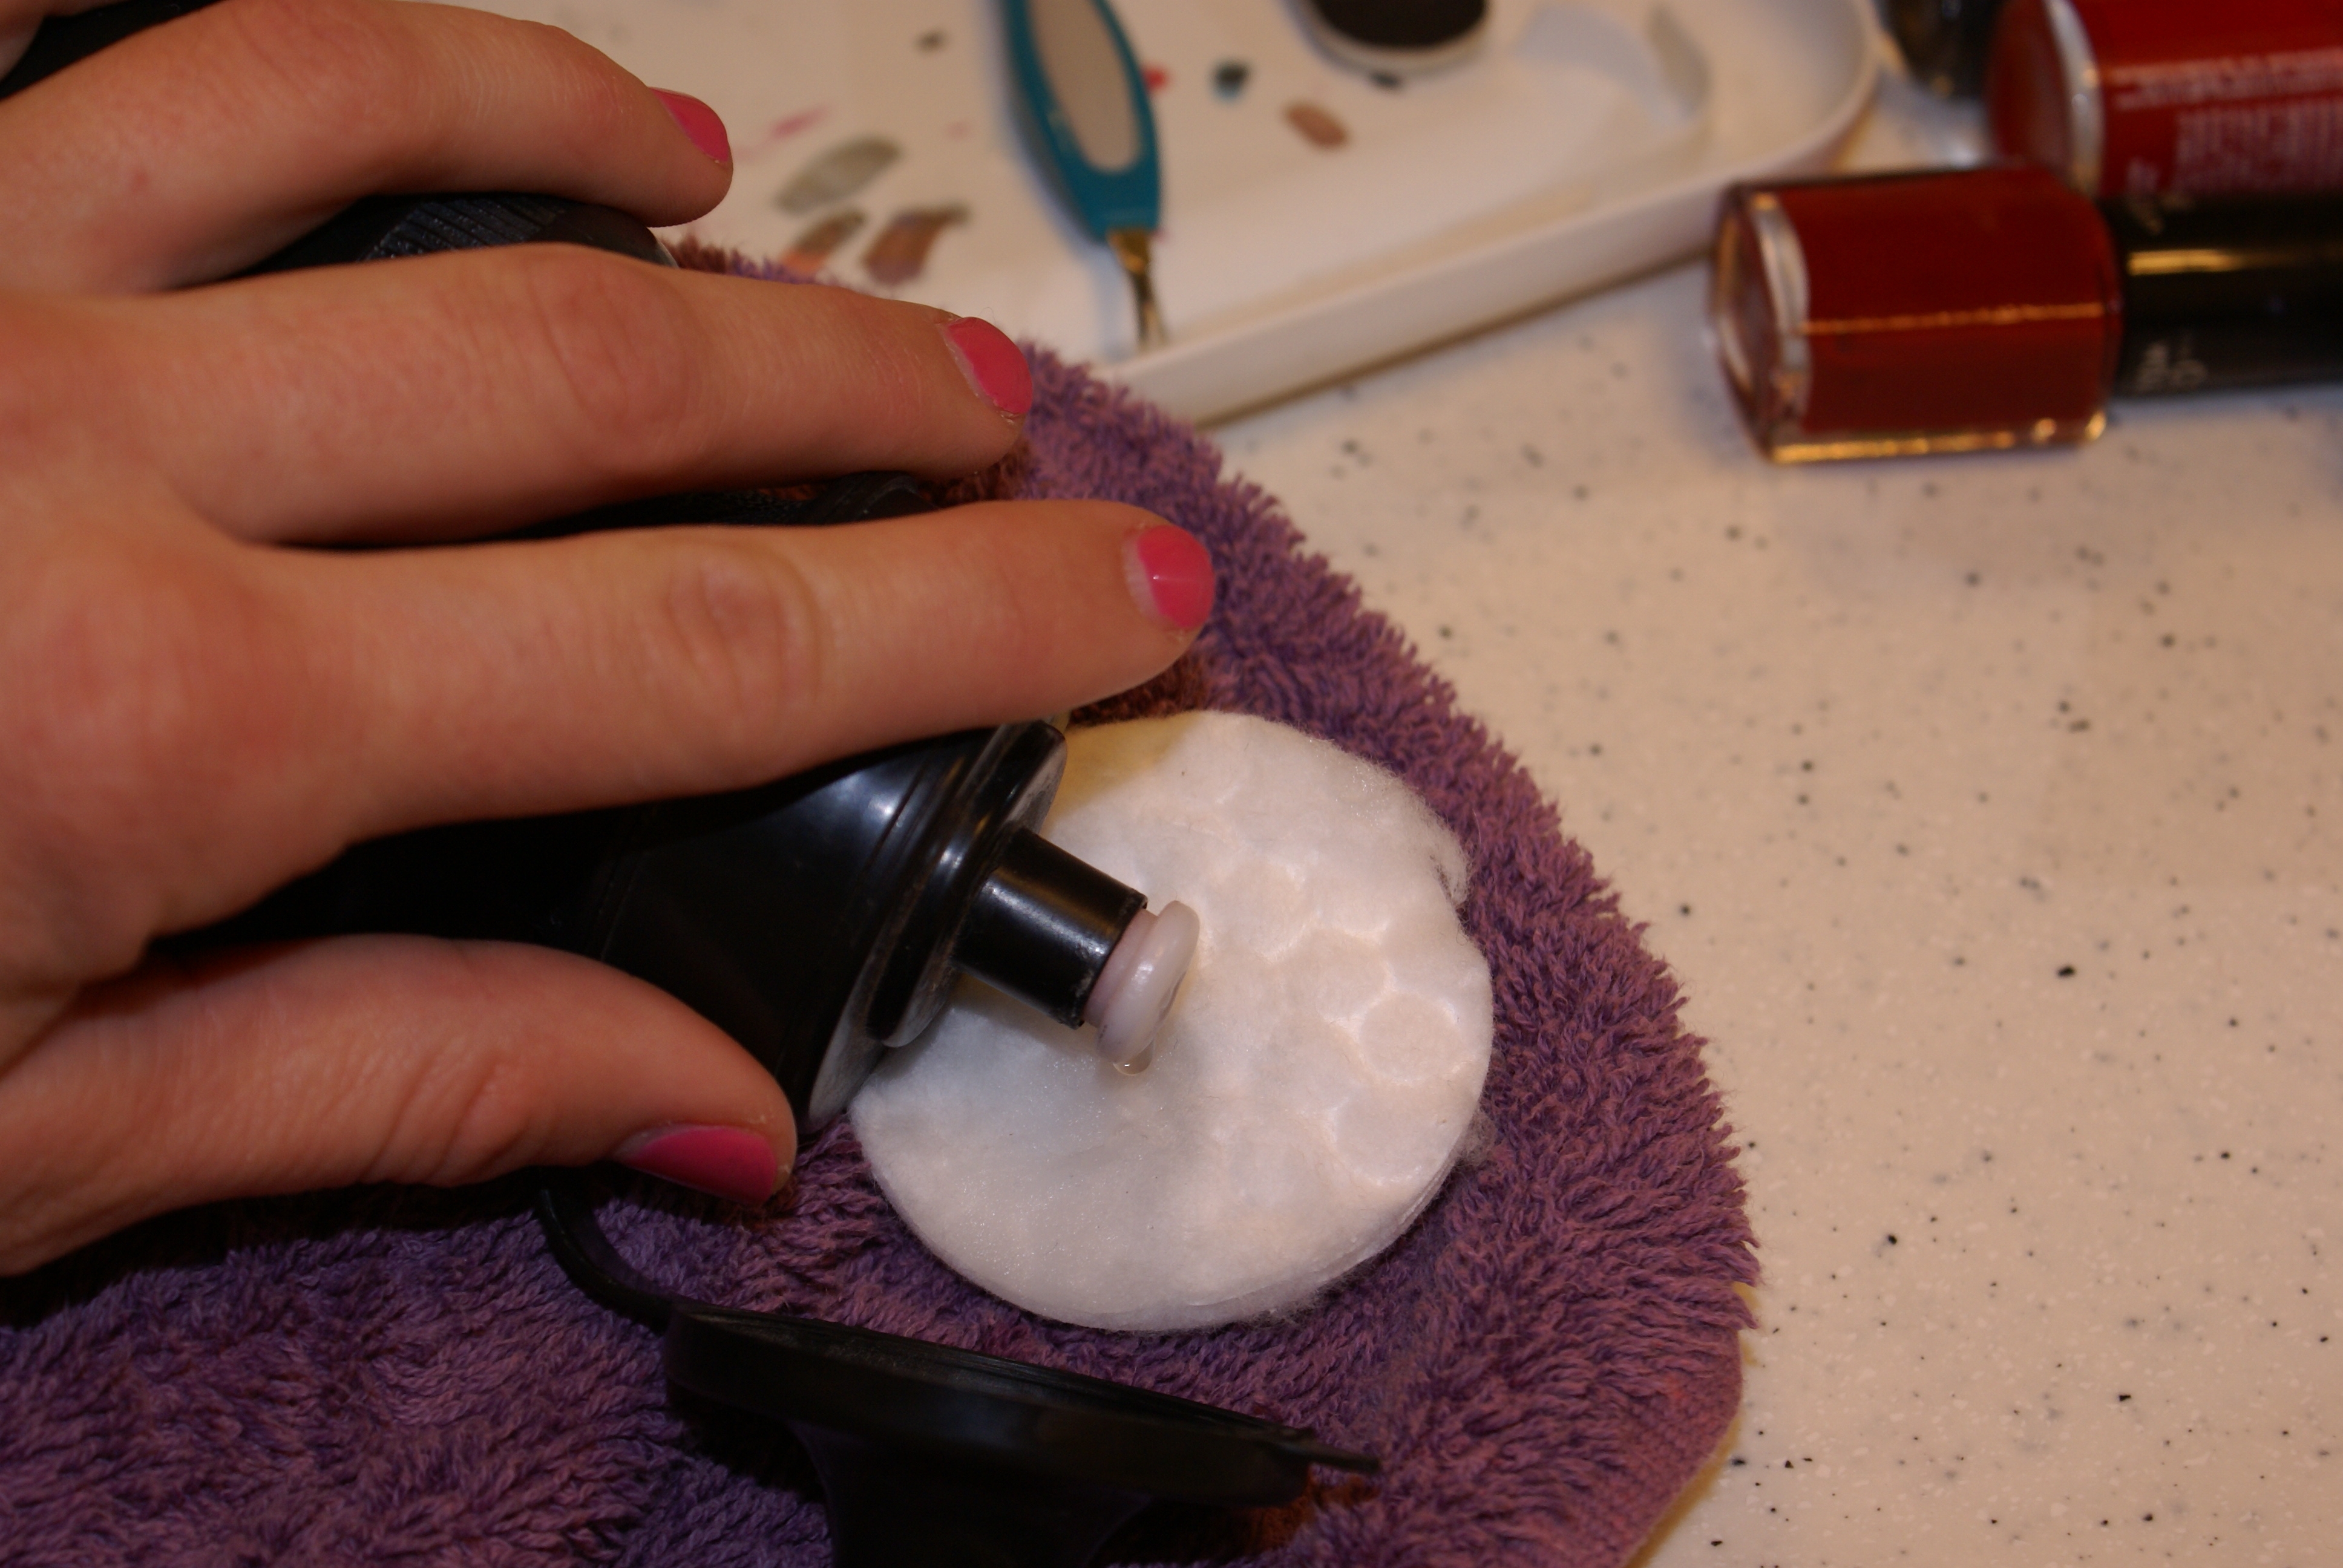
Vinegar and alcohol for cleaning and preparing nails
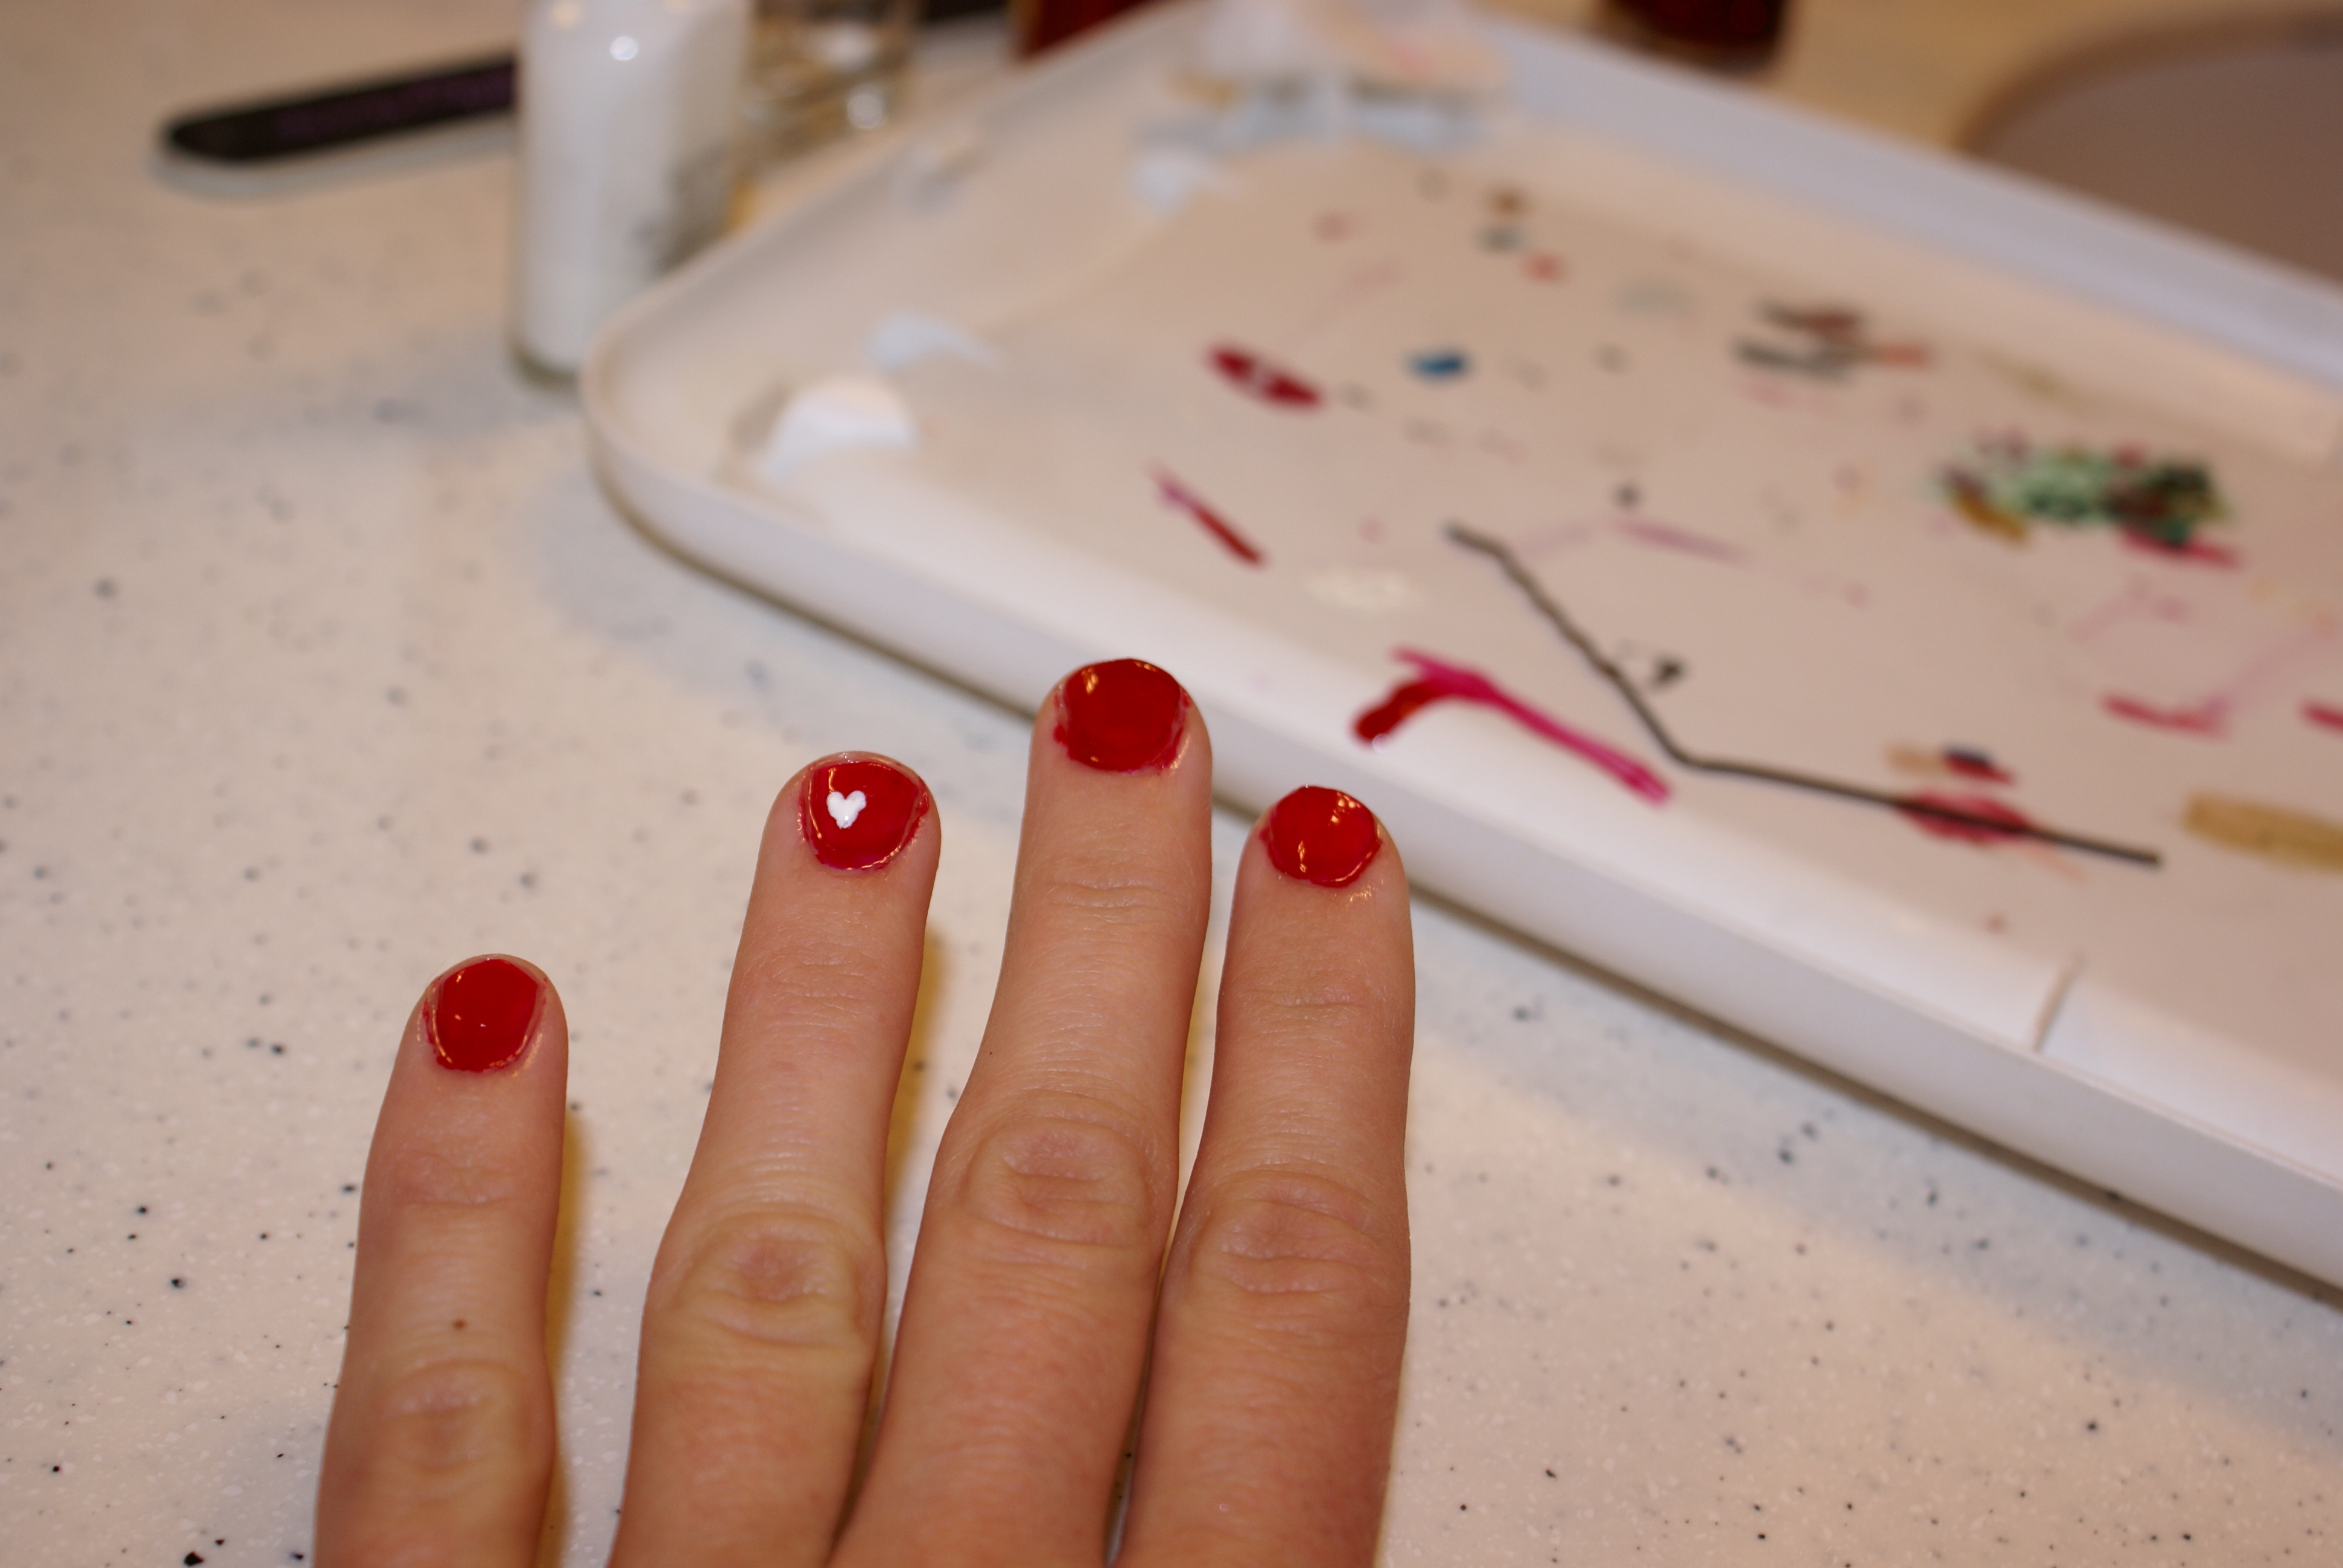
After that, I used a bit of vinegar and alcohol to clean and prepare my nails for polish. I start with a base coat and put it on smooth over the bare nail. I paint it a bit thin and patchy over the existing color, but be sure to fill in around the sides or tip of the nail. The key to making your polish last, is to let it dry thoroughly between coats. Next, I use a color that is darker than the existing color. I let it go on thick where there is no existing color, but make sure it is smooth across the entire nail. Again, LET IT DRY! Once it’s dry, you can add a top coat or some nail art. Since Valentine’s Day is coming up this week, I decided to paint hearts on my nails.
How to make heart nail art for Valentine’s Day
My gel polish was pink, so I went with a red color to cover over it. I decided to do white hearts as a contrast to the red polish. Some of the simplest nail art decorations you can do are hearts and flowers. They work best with thicker nail polish, so it gives you something to do with those old bottles of colors you like that don’t go on smooth anymore.
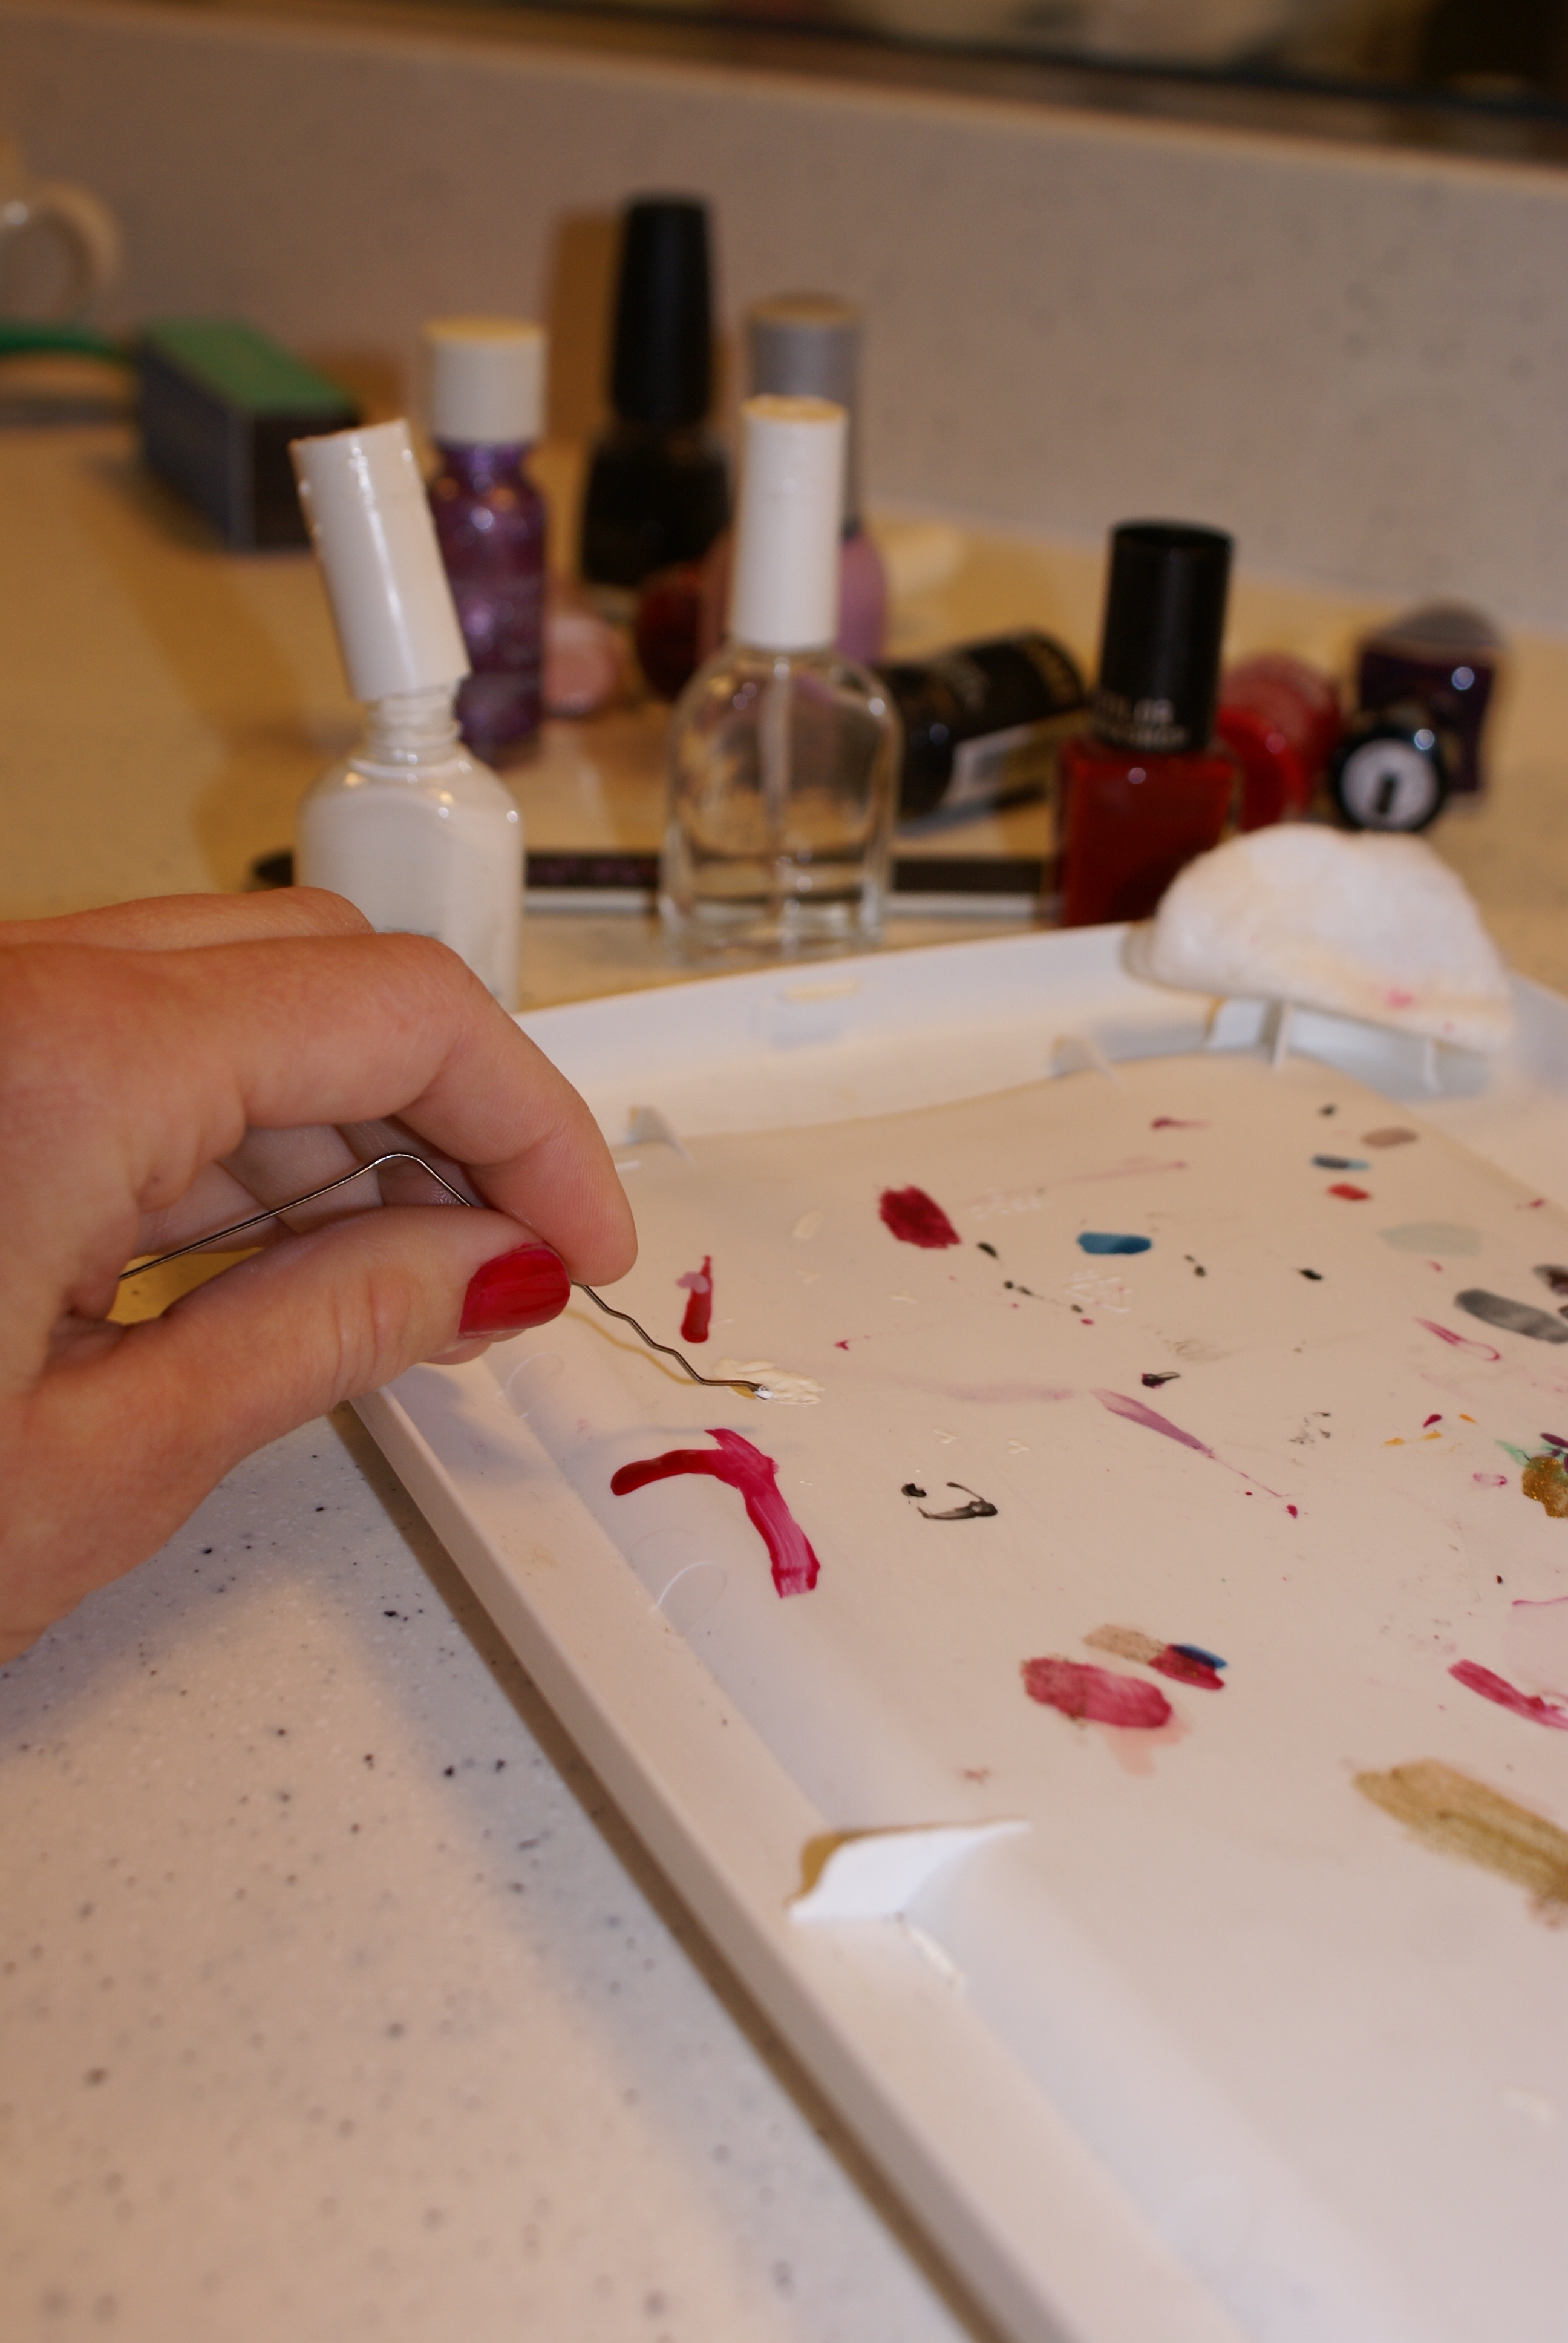
Bobby pin for heart nail heart.
To make a heart, take a bobby pin and bend it open. Dip one end in the color you wish to use. In one motion, touch the bobby pin with paint to your nail and pull it down and in to make one half of the heart. Do the same to make the other side of the heart. LET IT DRY! You need to wait at least two minutes for your nail art to dry. After that, I like to use something called Dry Kwik which is manufactured by Sally Hansen. It is an oily, clear liquid that you brush on over your polish to help it dry faster. It also helps smooth out imperfections like bumps, smudges and bubbles. I don’t know what it’s toxicity rating is, but I don’t paint my nails incredibly often and it works so good that I don’t care what it’s made of.
Once I’ve applied Dry Kwik, I let my nails sit for a minute then run them under cold water. I use a bit of soap to cut the oil from the Dry Kwik, but I’m careful not to rub my nails. I dry my hands on a towel, without touching my nails, and allow my nails to air dry. Finally, I apply a top coat. As you can see, I’m a bit sloppy when it comes to polishing my nails, but I don’t care – I just use some nail polish remover and a q-tip to clean up afterwards.
I think my nails turned out quite nicely and I even cleaned my wedding ring to go along with my refreshed manicure.

Valentine’s Day nails and wedding ring.